
I swear mini lemon cheesecakes are small, bright sunshine you can eat with a fork. They’re tangy, creamy, and somehow always disappear faster than you can say “one more batch.” Ready to dive into cheerful citrus bliss without turning your kitchen into a science lab? Let’s go.
Why Tiny Cheesecake Minis Are Worth the Hype
Ever notice how a bite-sized treat feels indulgent without being overwhelming? These little cheesecakes hit that sweet spot. They’re perfect for parties, lunchbox treats, or a cheeky dessert when you’re solo and still want something fancy. And yes, they taste like dessert, not a diet worksheet. FYI, portion control has never tasted this good.
What You’ll Need: Tools and Essentials
– Ingredients you probably already have: cream cheese, sugar, eggs, lemon zest, lemon juice, graham crackers or digestive biscuits, butter.
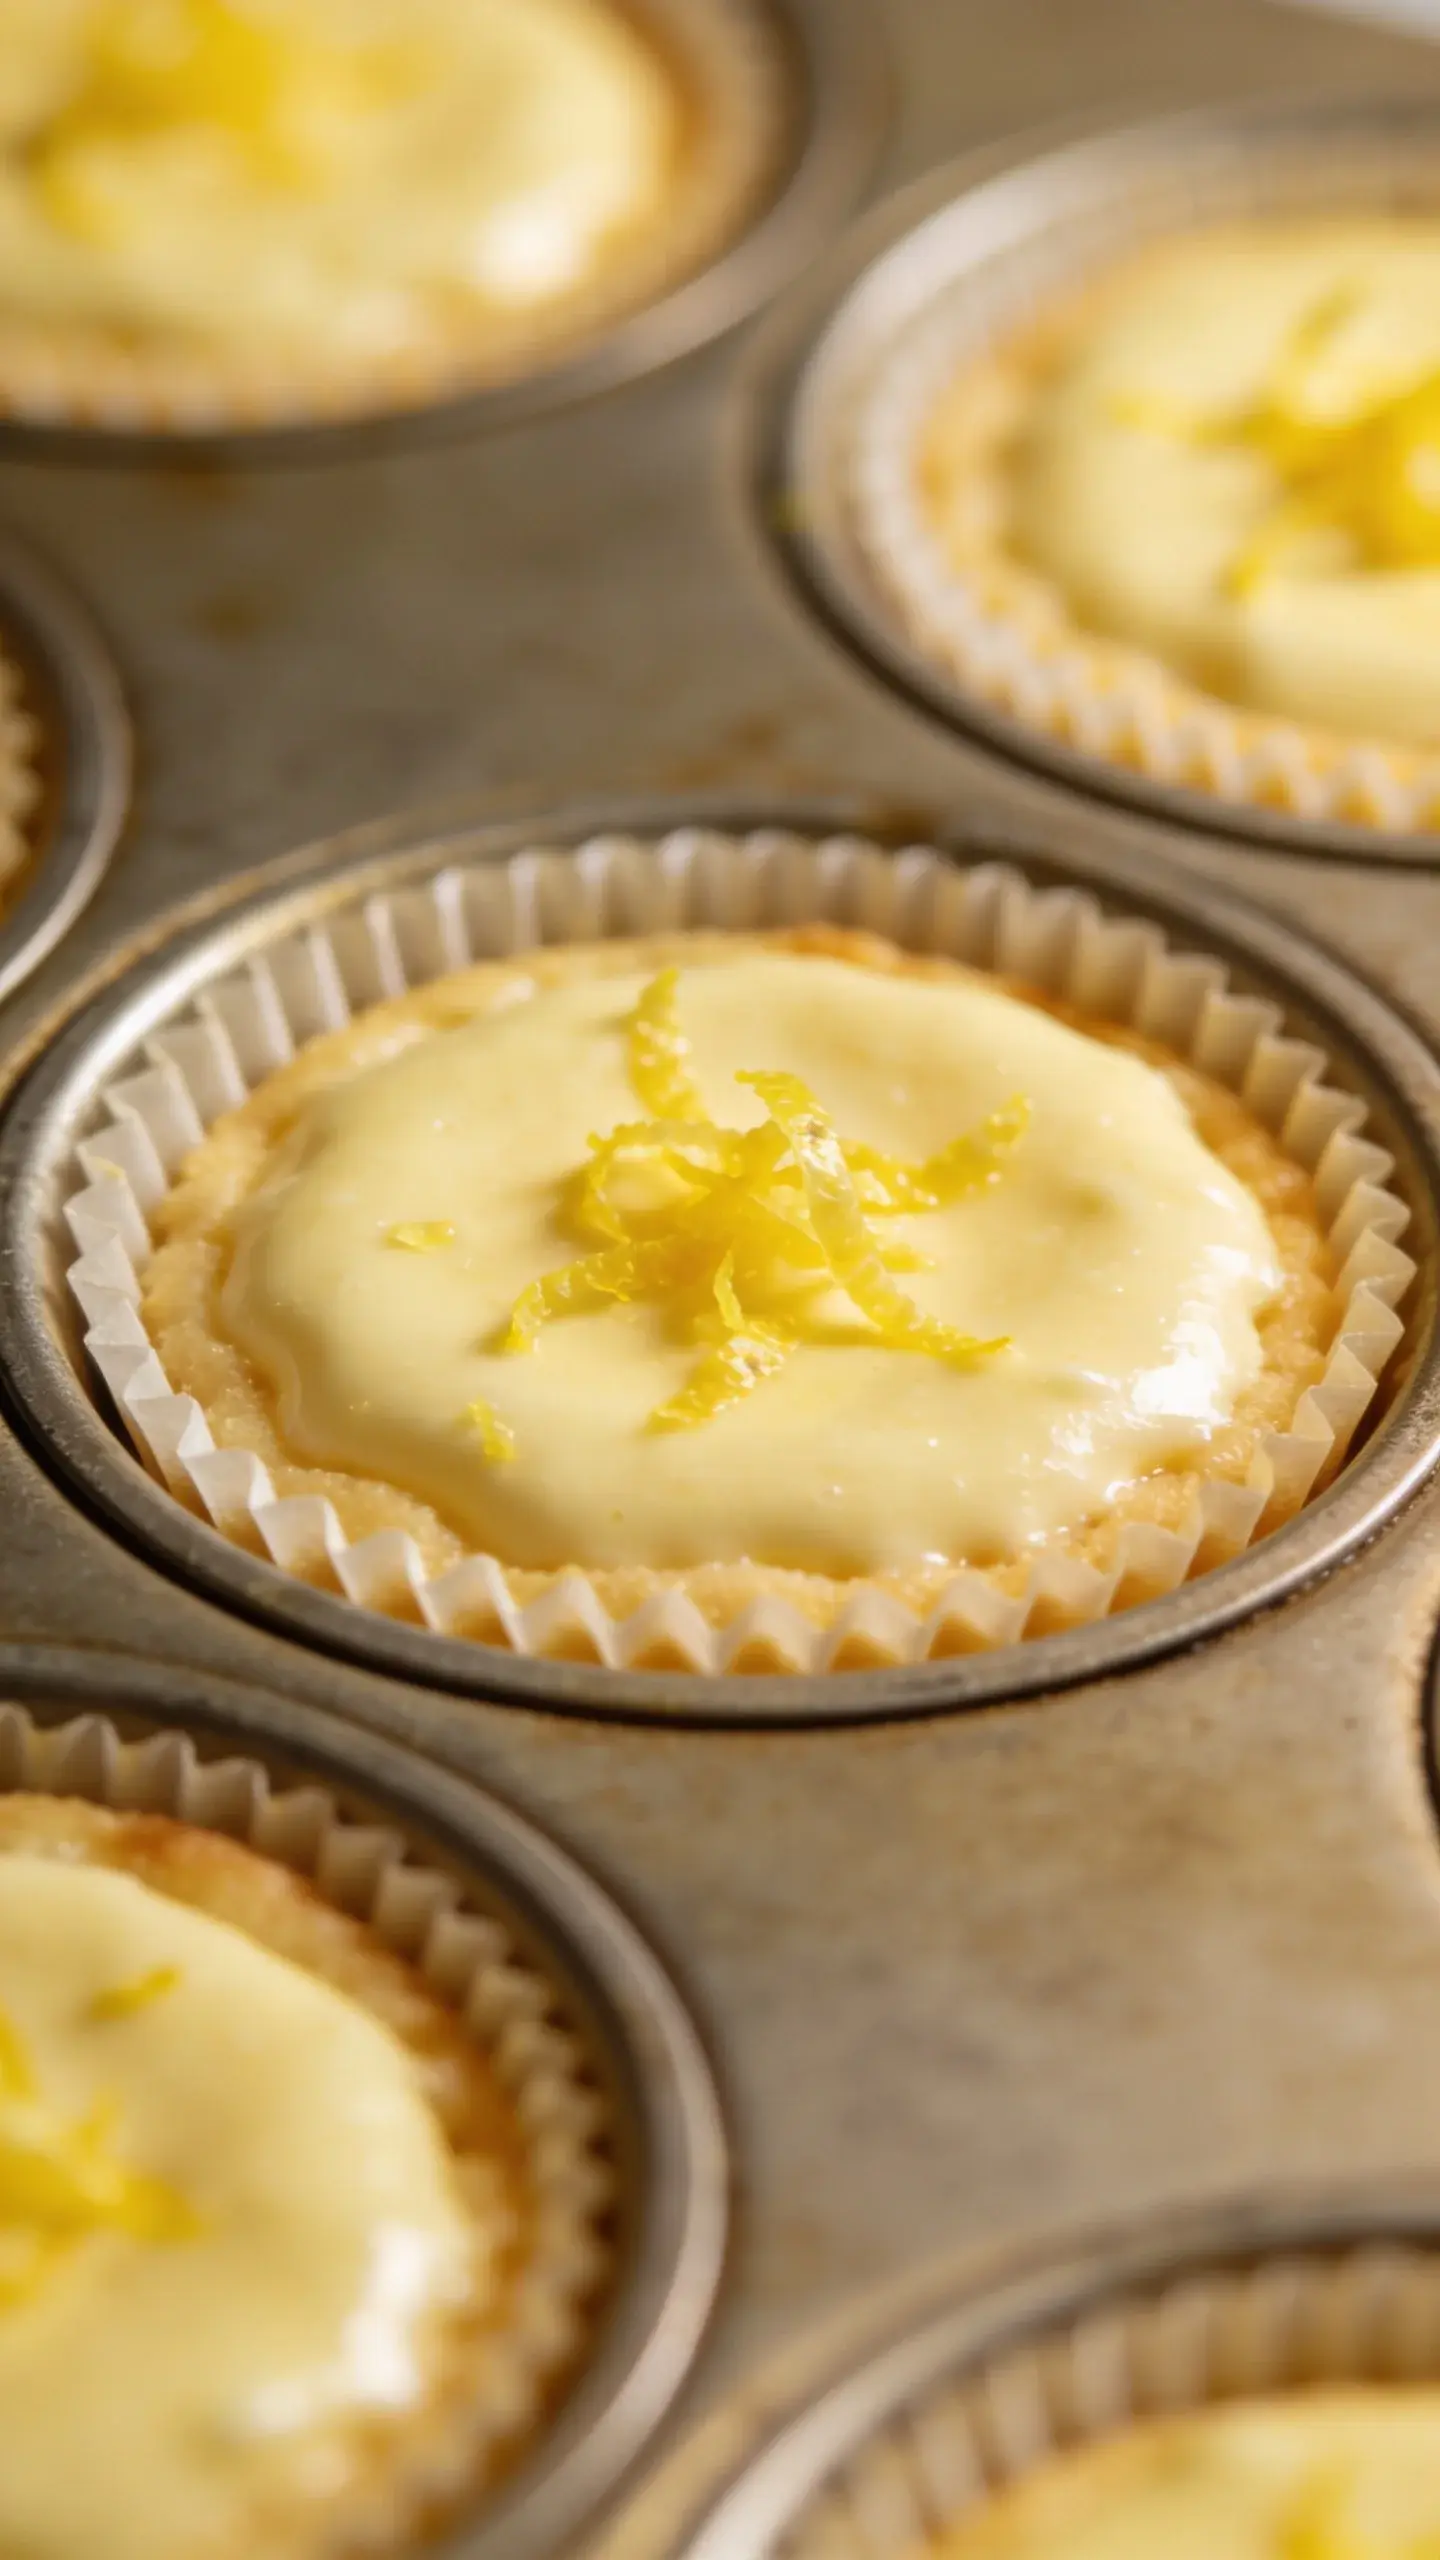
– A muffin tin or mini-cheesecake cups: your best friend for uniform little rounds.
– A hand mixer or stand mixer for creamy, lump-free filling.
– A zester and juicer for bright lemon flavor.
If you’re short on time, you can shortcut the crust with store-bought cookies and melted butter. No shame here—we’re all about easy wins. Want to go extra? Pipe whipped cream on top for a fancy finish.
The Crust: Crunchy, Not Chalky
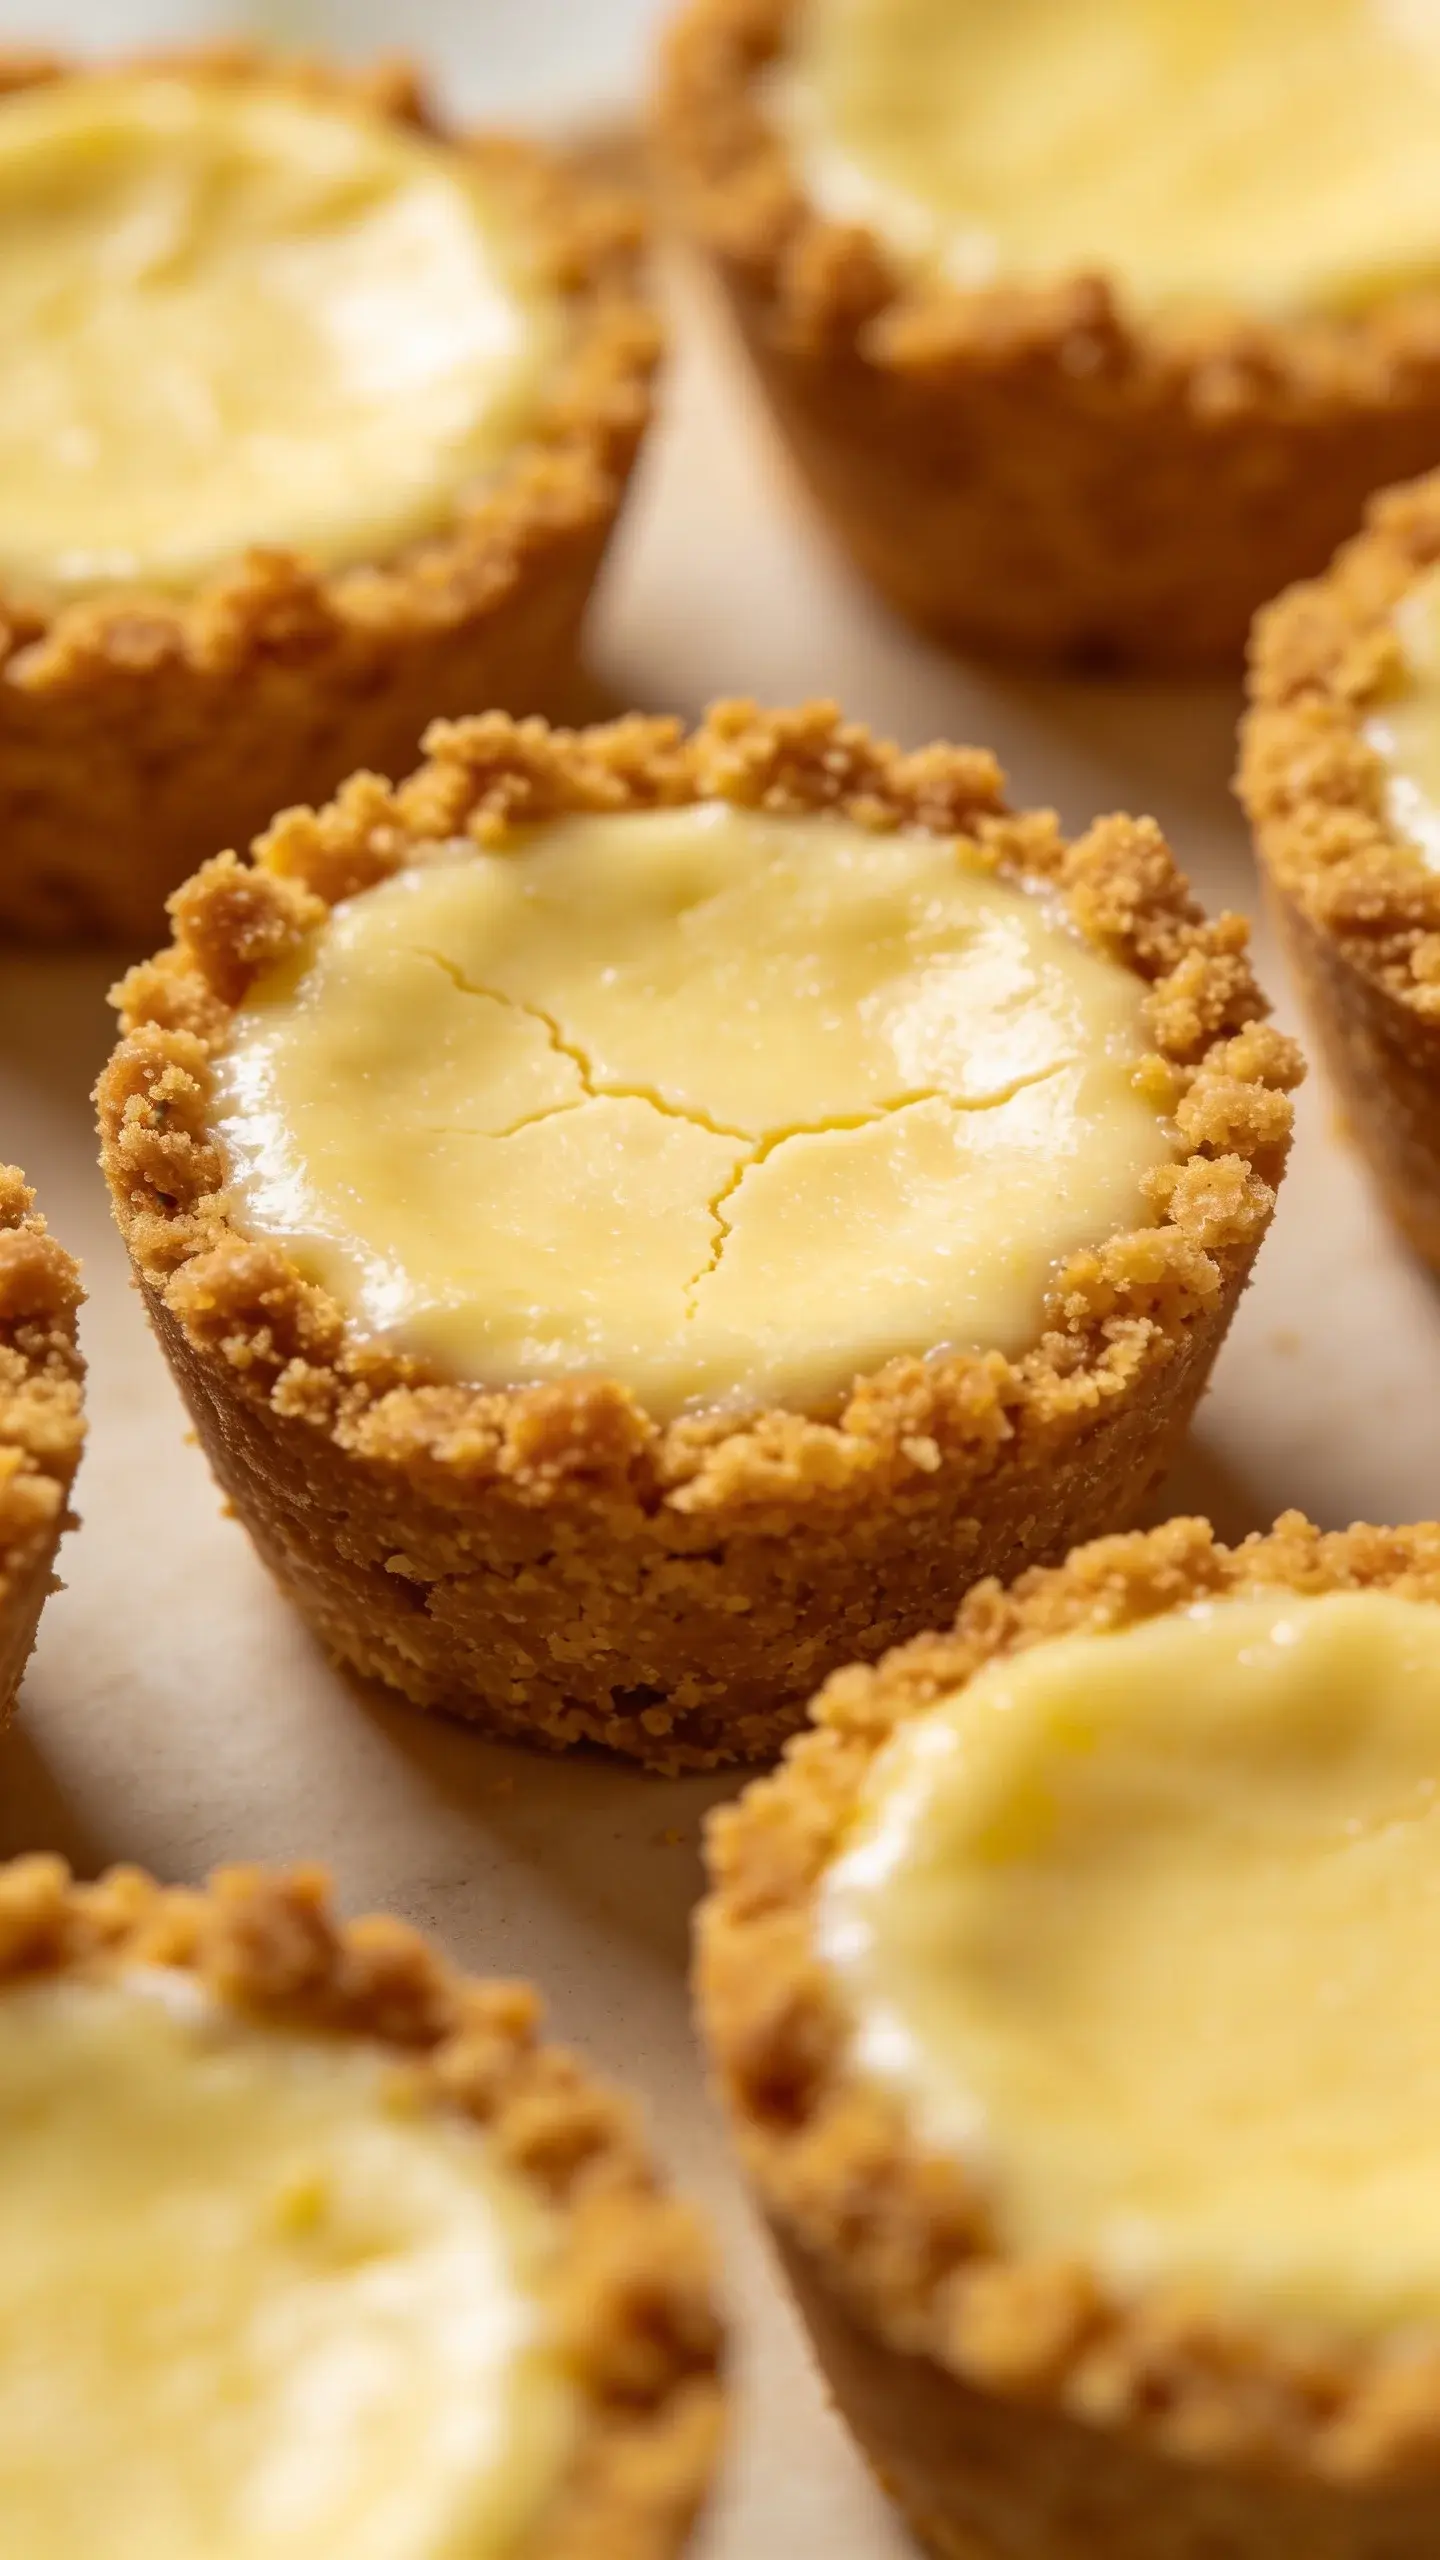
The crust is the stagehand that never steals the show but holds the spotlight. You want a little crunch and a lot of flavor.
– Crush your cookies fine so the crust sticks instead of crumbles away.
– Add just enough butter to dampen the crumbs—think damp sand, not wet mud.
– Some people like a pinch of salt to balance sweetness; I’m on board with that.
Tip: If you bake the crust a few minutes before filling, it stays crisp and won’t sog out once the filling hits it.
The Filling: Lemony, Silky, Dreamy
This is where the magic happens. The trick is to beat the cream cheese until it’s creamy and free of lumps, then fold in eggs one at a time. Don’t overmix after the eggs go in, or you’ll get the dreaded crackly top or holes that look suspiciously like tiny opinions.
Key steps:
– Soften cream cheese to room temp so it blends smoothly.
– Balance sweetness with lemon: zest for aroma, juice for brightness.
– Bake gently in a water bath if you want the smoothest texture. If not, a regular bake works too—just don’t rush it.
Pro tip: A splash of vanilla adds depth, but keep the lemon front and center. IMO, these taste like sunshine in a cup-shaped wrapper.
Flavor Tweaks: Citrus, But Make It Personal
You don’t have to stop at lemon. Want more zing? Try variations that still keep things bright and balanced.
– Lemon-raspberry: swirl a little berry puree into the center before baking. It creates a pretty marbled effect.
– Lemon-lime: swap half the lemon juice for lime for a tropical twist.
– Herbal note: a touch of rosemary or thyme in the crust can surprise people—bold, but not loud.
Do you hate lemon seeds? Use strained lemon juice and zest, or zest first, then juice. Your teeth will thank you.
Texture Talk: Soft Center or Creamy Core?
Mini cheesecakes can be set with a barely jiggly center or fully firm, depending on your mood.
– If you like them almost mousse-like, pull them from the oven when the edges look set but the centers still jiggle.
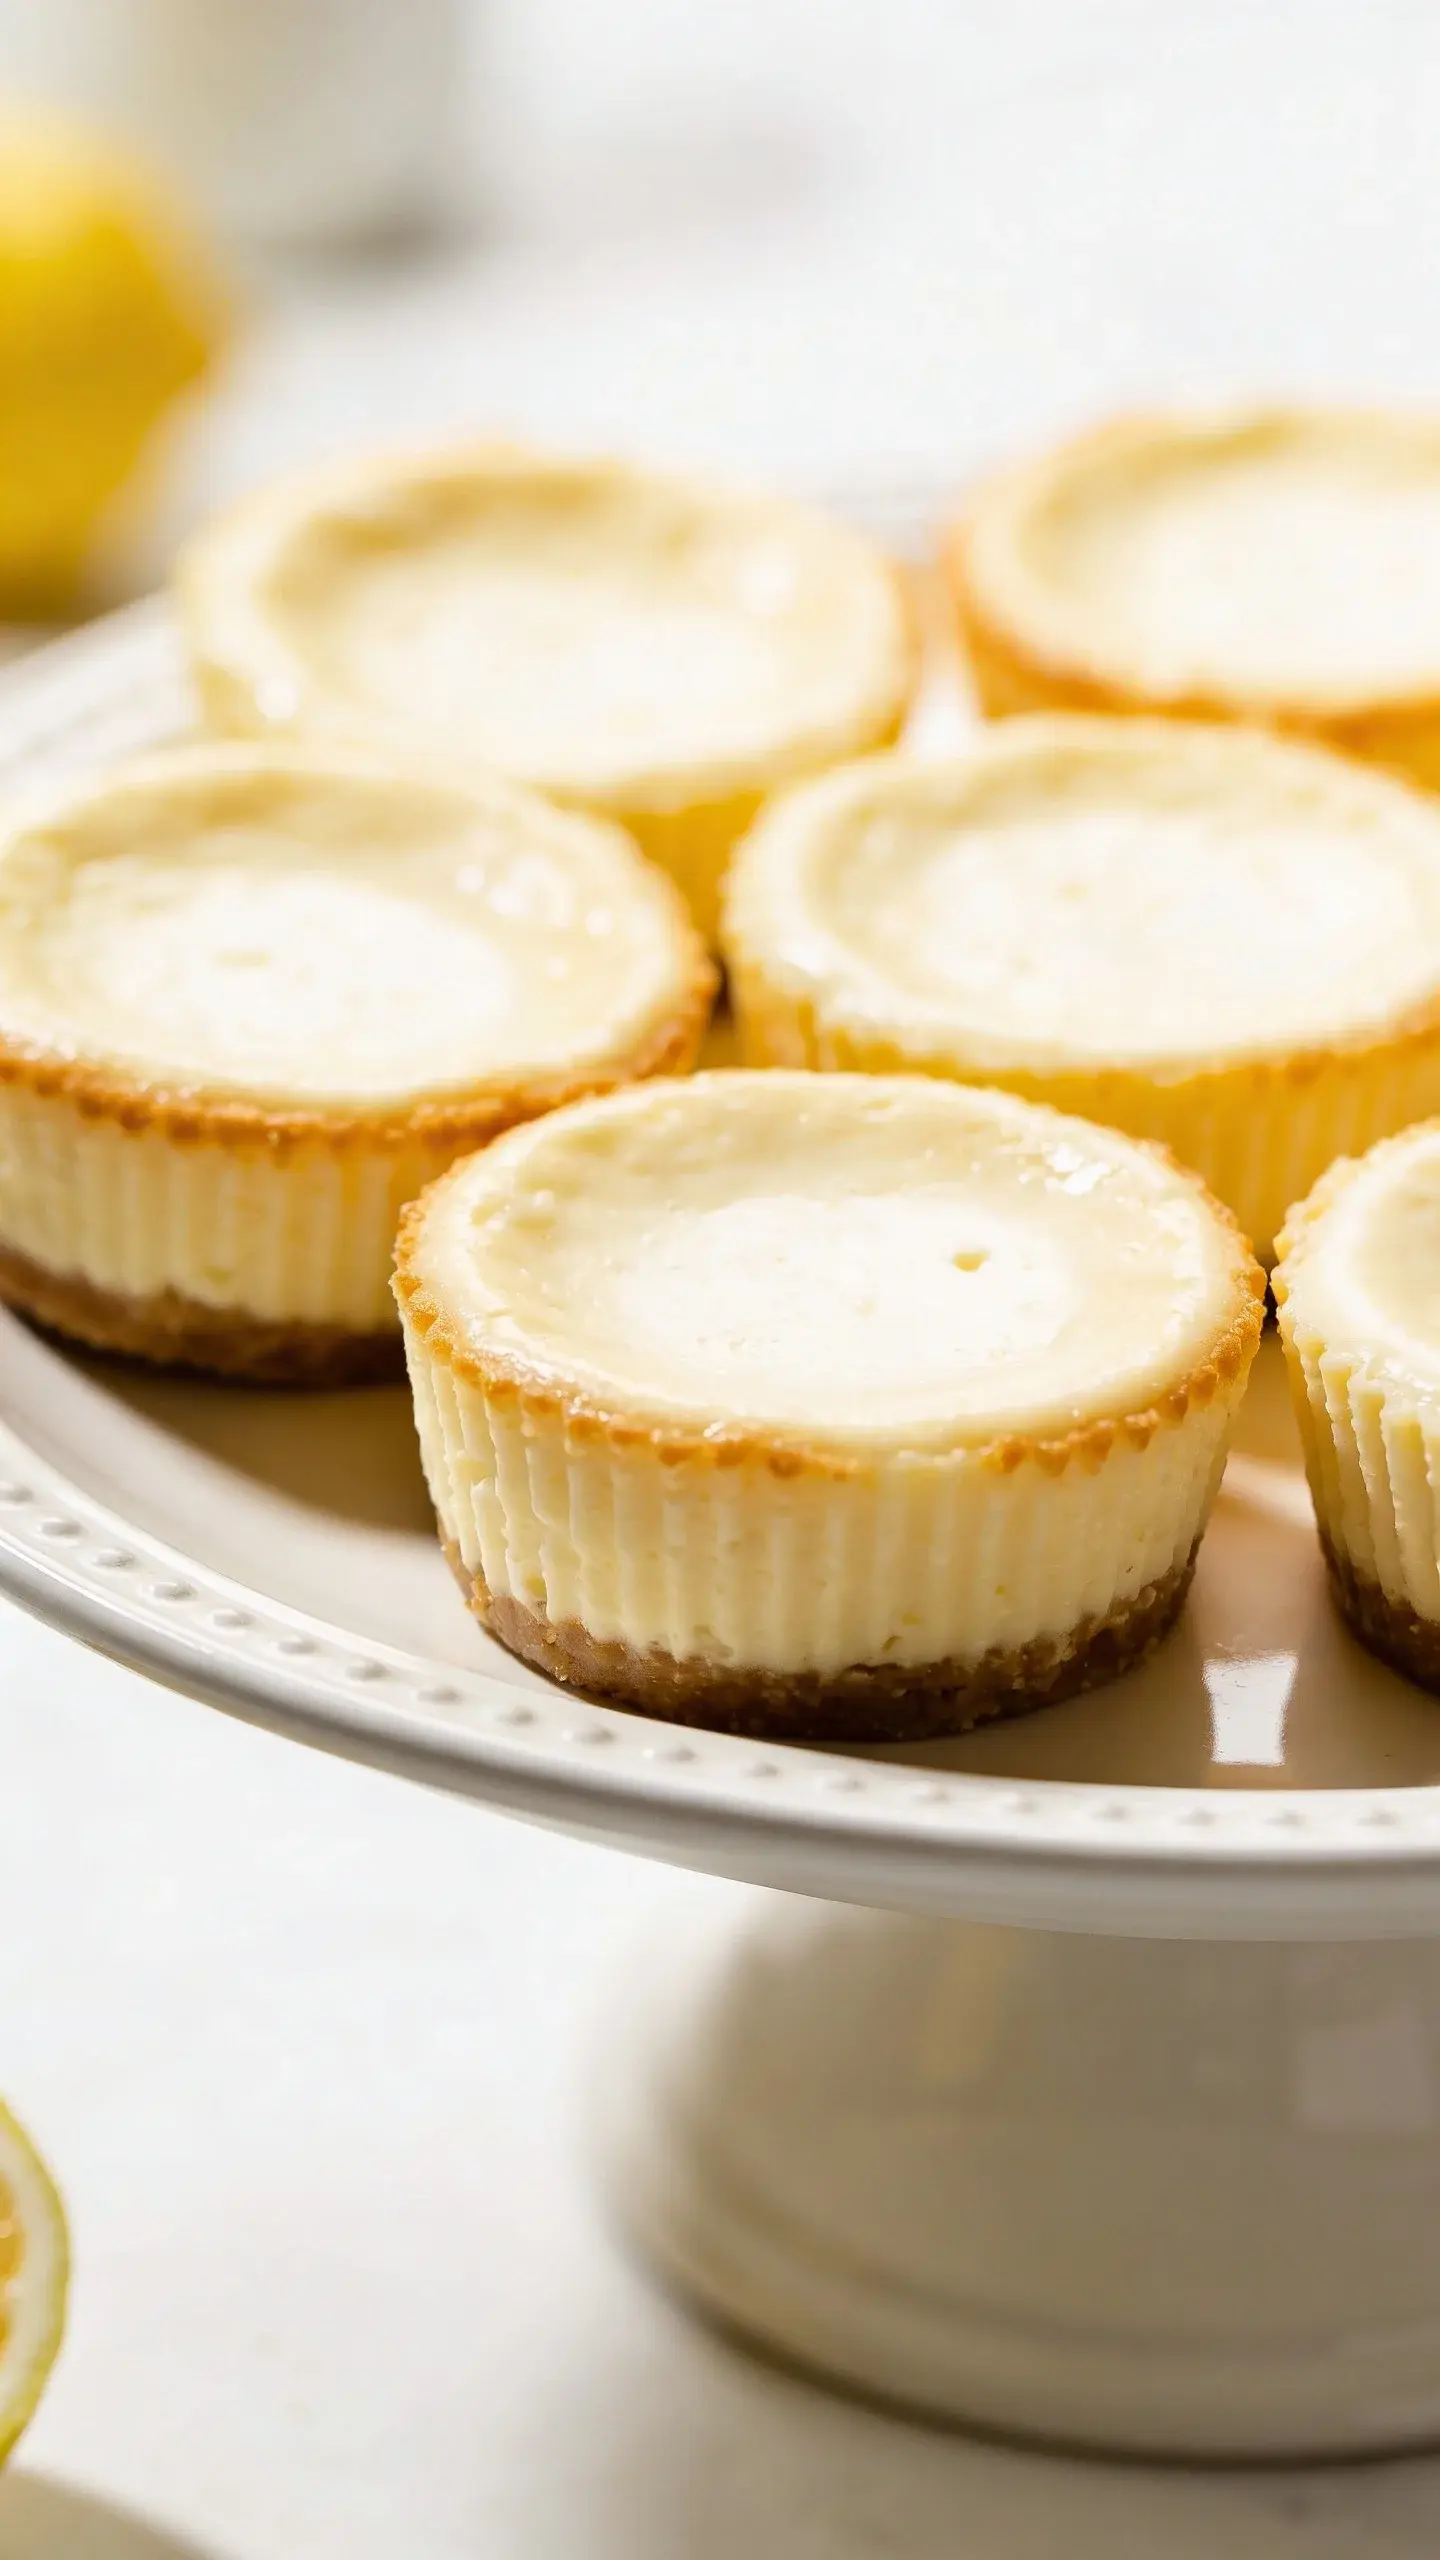
– If you want that classic cheesecake bite, bake until the centers are mostly set and cool in the pan.
Chill time matters, too. A few hours in the fridge makes the flavors pop and the texture play nice with toppings.
Top It Off: Toppings That Shine
The finishing touch can make or break the vibe.
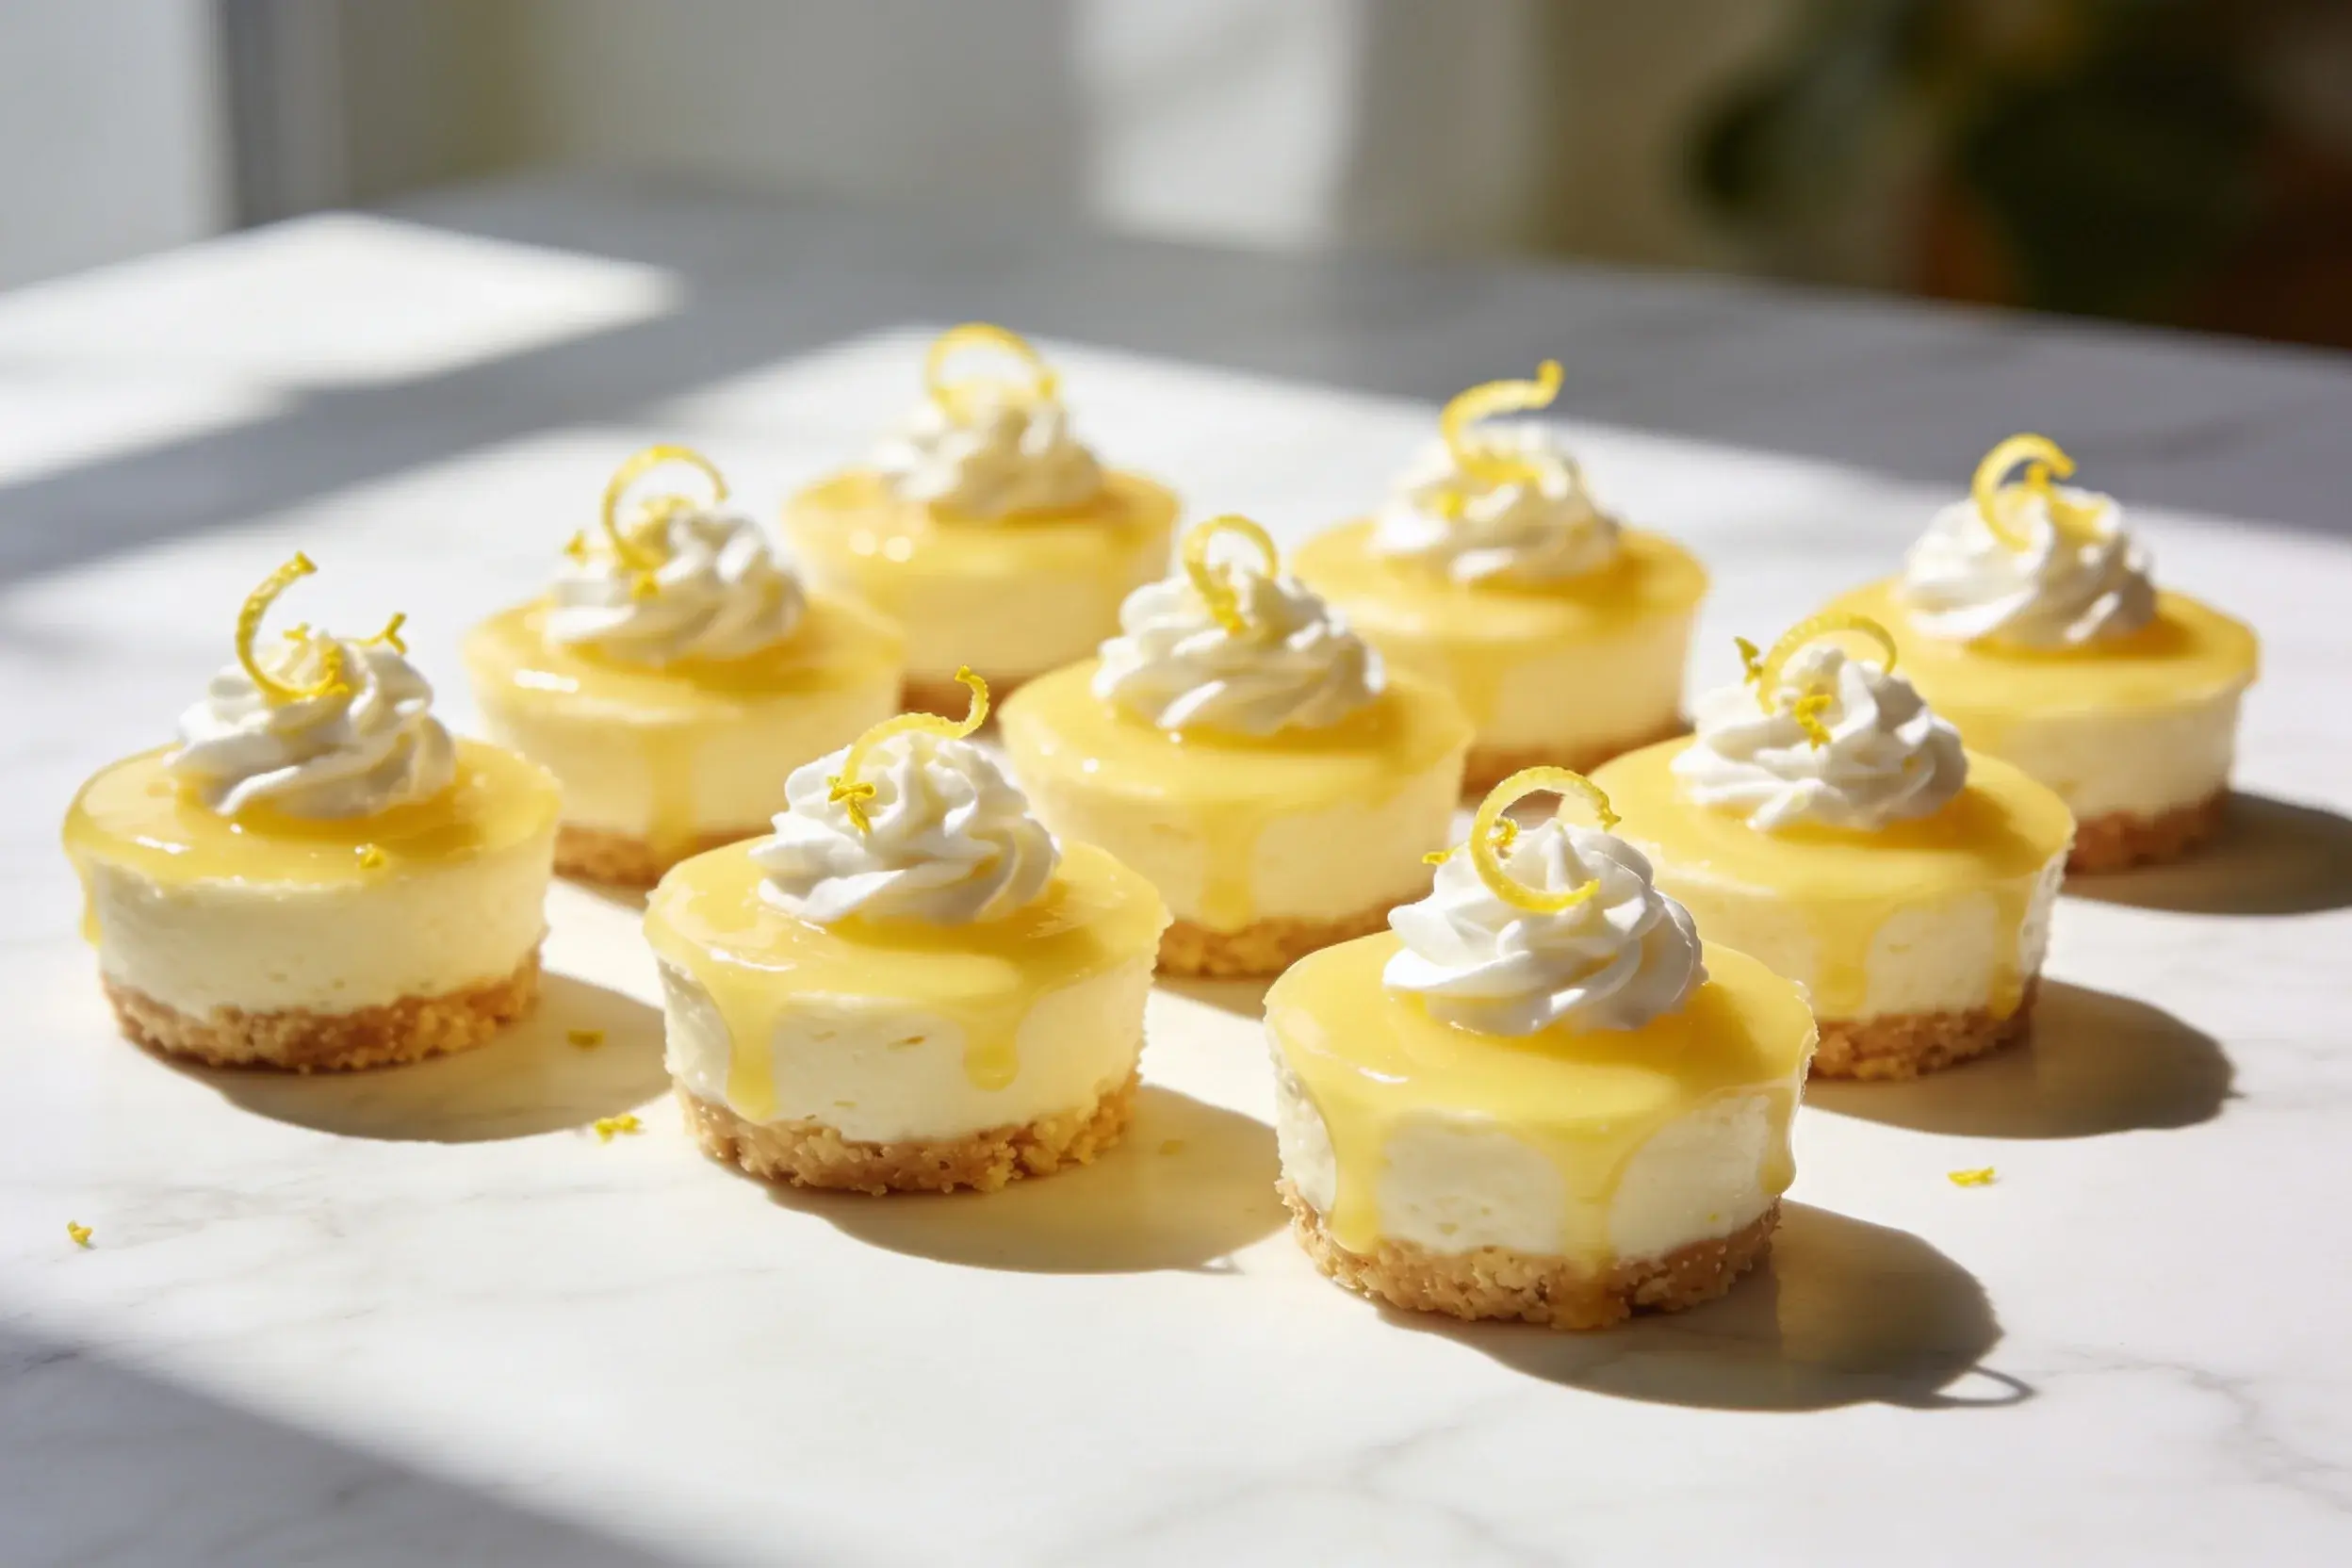
– Classic: a dollop of whipped cream and a sprinkle of lemon zest.
– Bright and glossy: a thin lemon glaze that’s barely there, so you still taste the cheesecake.
– Fresh fruit: raspberries, blueberries, or a drizzle of berry coulis for a pop of color.
– Crunchy contrast: crushed graham cracker crumbs, candied lemon peel, or toasted almond slivers.
Want a showstopper for a party? Stack a few on a decorative platter and pretend you’re a fancy pastry chef. FYI, it’s not a crime to take credit for the “chef-y” look you achieved with a spoon and a ribbon of glaze.
Mini Cheesecakes in Everyday Life: When to Bake and Why
If you’re chasing a recipe that plays well with chaos, this one’s for you.
– Make-ahead magic: Bake, cool, and refrigerate up to 3 days. They taste even better after their flavor has had time to mingle.
– Freezer-friendly: Freeze baked minis in a single layer, then bag. Reheat gently in the oven or microwave, and you’ll be surprised at how well they hold up.
– Party-friendly prep: Bake a whole bunch, frost, and garnish right before serving. Guests can grab a “mini moment” without committing to a full slice.
Question for you: do you prefer plain lemon or add a little twist? IMO a tiny splash of vanilla is underrated—it rounds out the citrus punch without dulling it.
Using a Batch-Size Mindset: Consistency Tips
To keep things tidy and evenly cooked, treat every mini like a tiny coworker who deserves equal attention.
– Use a measured scoop or a small spoon to portion filling. This keeps centers uniform.
– Tap the filled tins a few times to release air pockets before baking.
– Don’t overfill the crusts; you want a nice ratio of crust, filling, and that luxurious top.
If you notice cracks forming, it’s not the end of the world—just a cosmetic hiccup. A light dusting of powdered sugar or a glaze can hide most cracks and still look cute.
FAQ
Can I bake lemon cheesecakes without a water bath?
Yes. A water bath helps keep the texture creamy and prevents cracking, but it’s not strictly necessary. If you skip the bath, bake at a slightly lower temperature and keep an eye on them. They’ll still be delicious.
How do I prevent cracks on the tops?
Let them cool gradually and avoid overbaking. A pan of hot water in the oven can help regulate heat, and gently tapping out air bubbles before baking also reduces cracking.
Can I make these dairy-free or gluten-free?
Absolutely. Use dairy-free cream cheese and a crust made from gluten-free cookies or nuts. For a crust, you can swap in almond flour and coconut oil. Expect a slightly different texture, but still yummy.
What’s the best way to store leftovers?
Keep them covered in the fridge for up to 3 days. For longer storage, freeze individual minis and reheat gently. They rewarm beautifully when not microwaved to a molten mess.
Do mini cheesecakes freeze well before or after baking?
Freeze unbaked crusts and filling in portions for quick bake-ahead batches, or freeze baked minis for a ready-to-go dessert. Either way, wrap well to prevent freezer burn.
Conclusion
Mini lemon cheesecakes prove that big flavors can come in small packages. They’re easy to make, easy to share, and endlessly adaptable. Whether you’re feeding a crowd or just indulging on a Tuesday, these bright bites deliver a smile with every bite. So roll up your sleeves, grab a lemon, and start scooping joy into little cups. You’ll thank me at dessert time.