
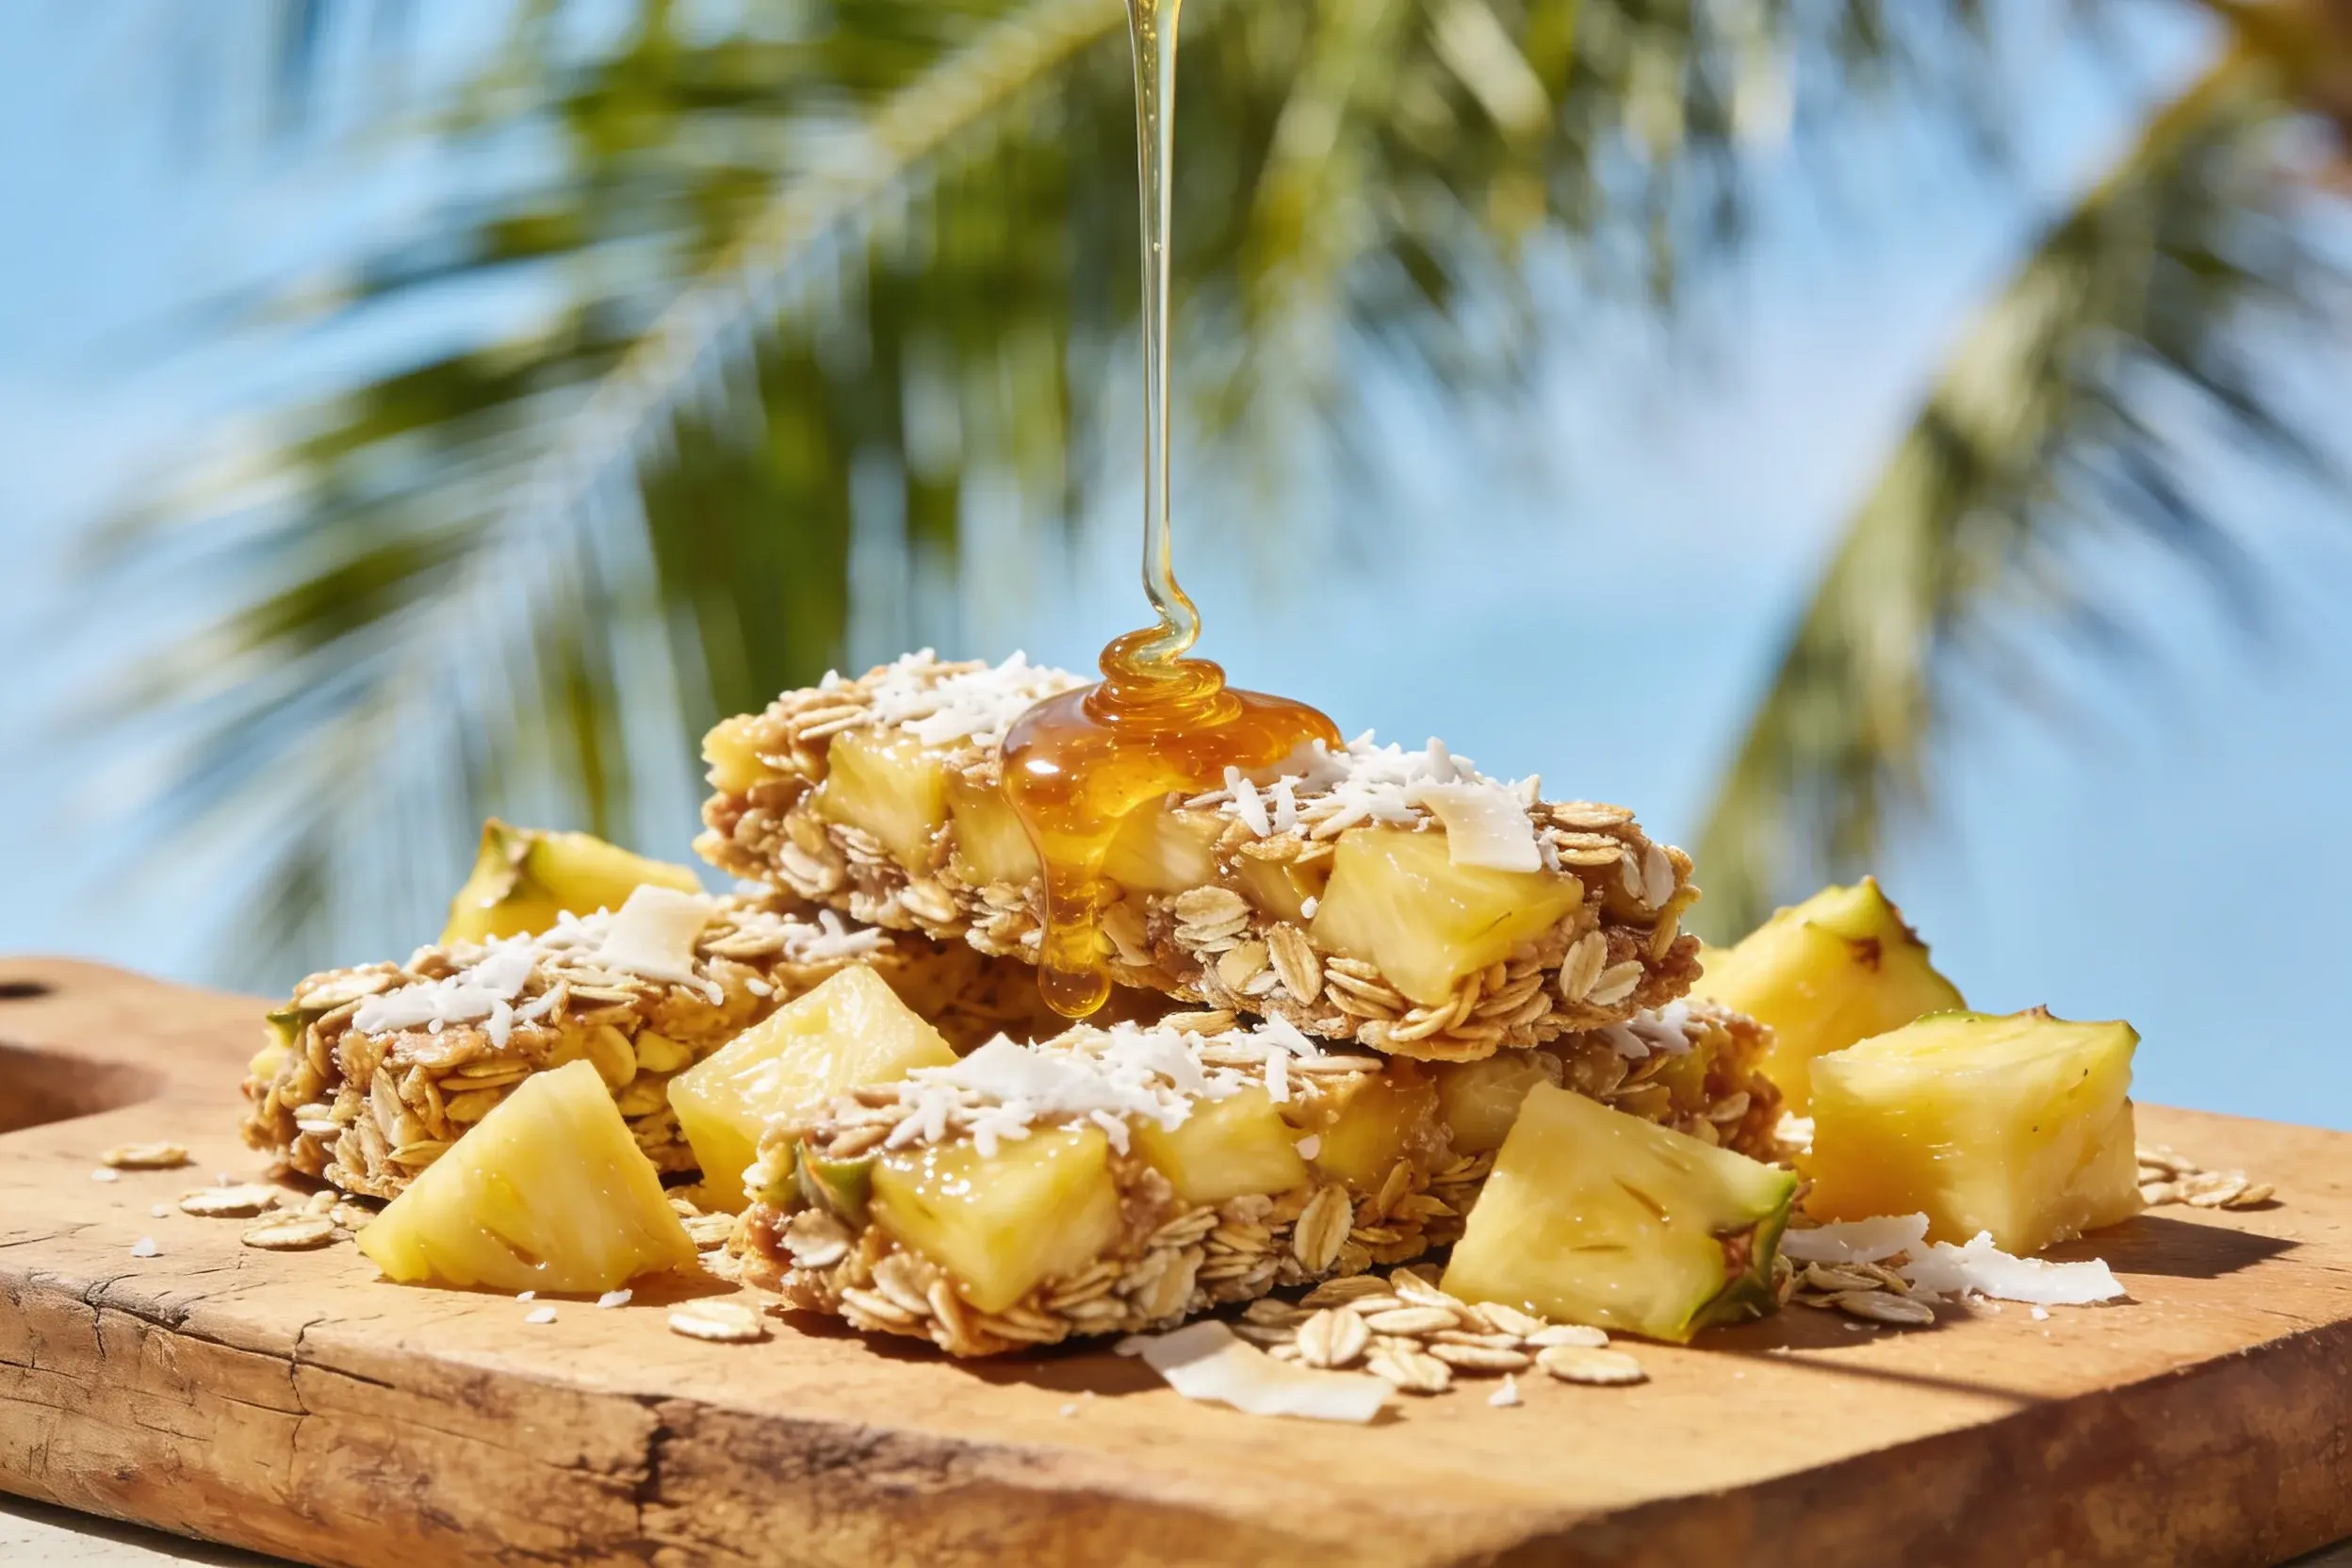
Pineapple Coconut Spring Bars are basically sunshine baked into a snack bar. They’re bright, chewy, a little tropical, and surprisingly easy to pull off for a weekend bake or a quick picnic refresh. If you’ve ever wanted a bite that tastes like lounging on a sunny porch, you’ve found it.
What makes Pineapple Coconut Spring Bars special
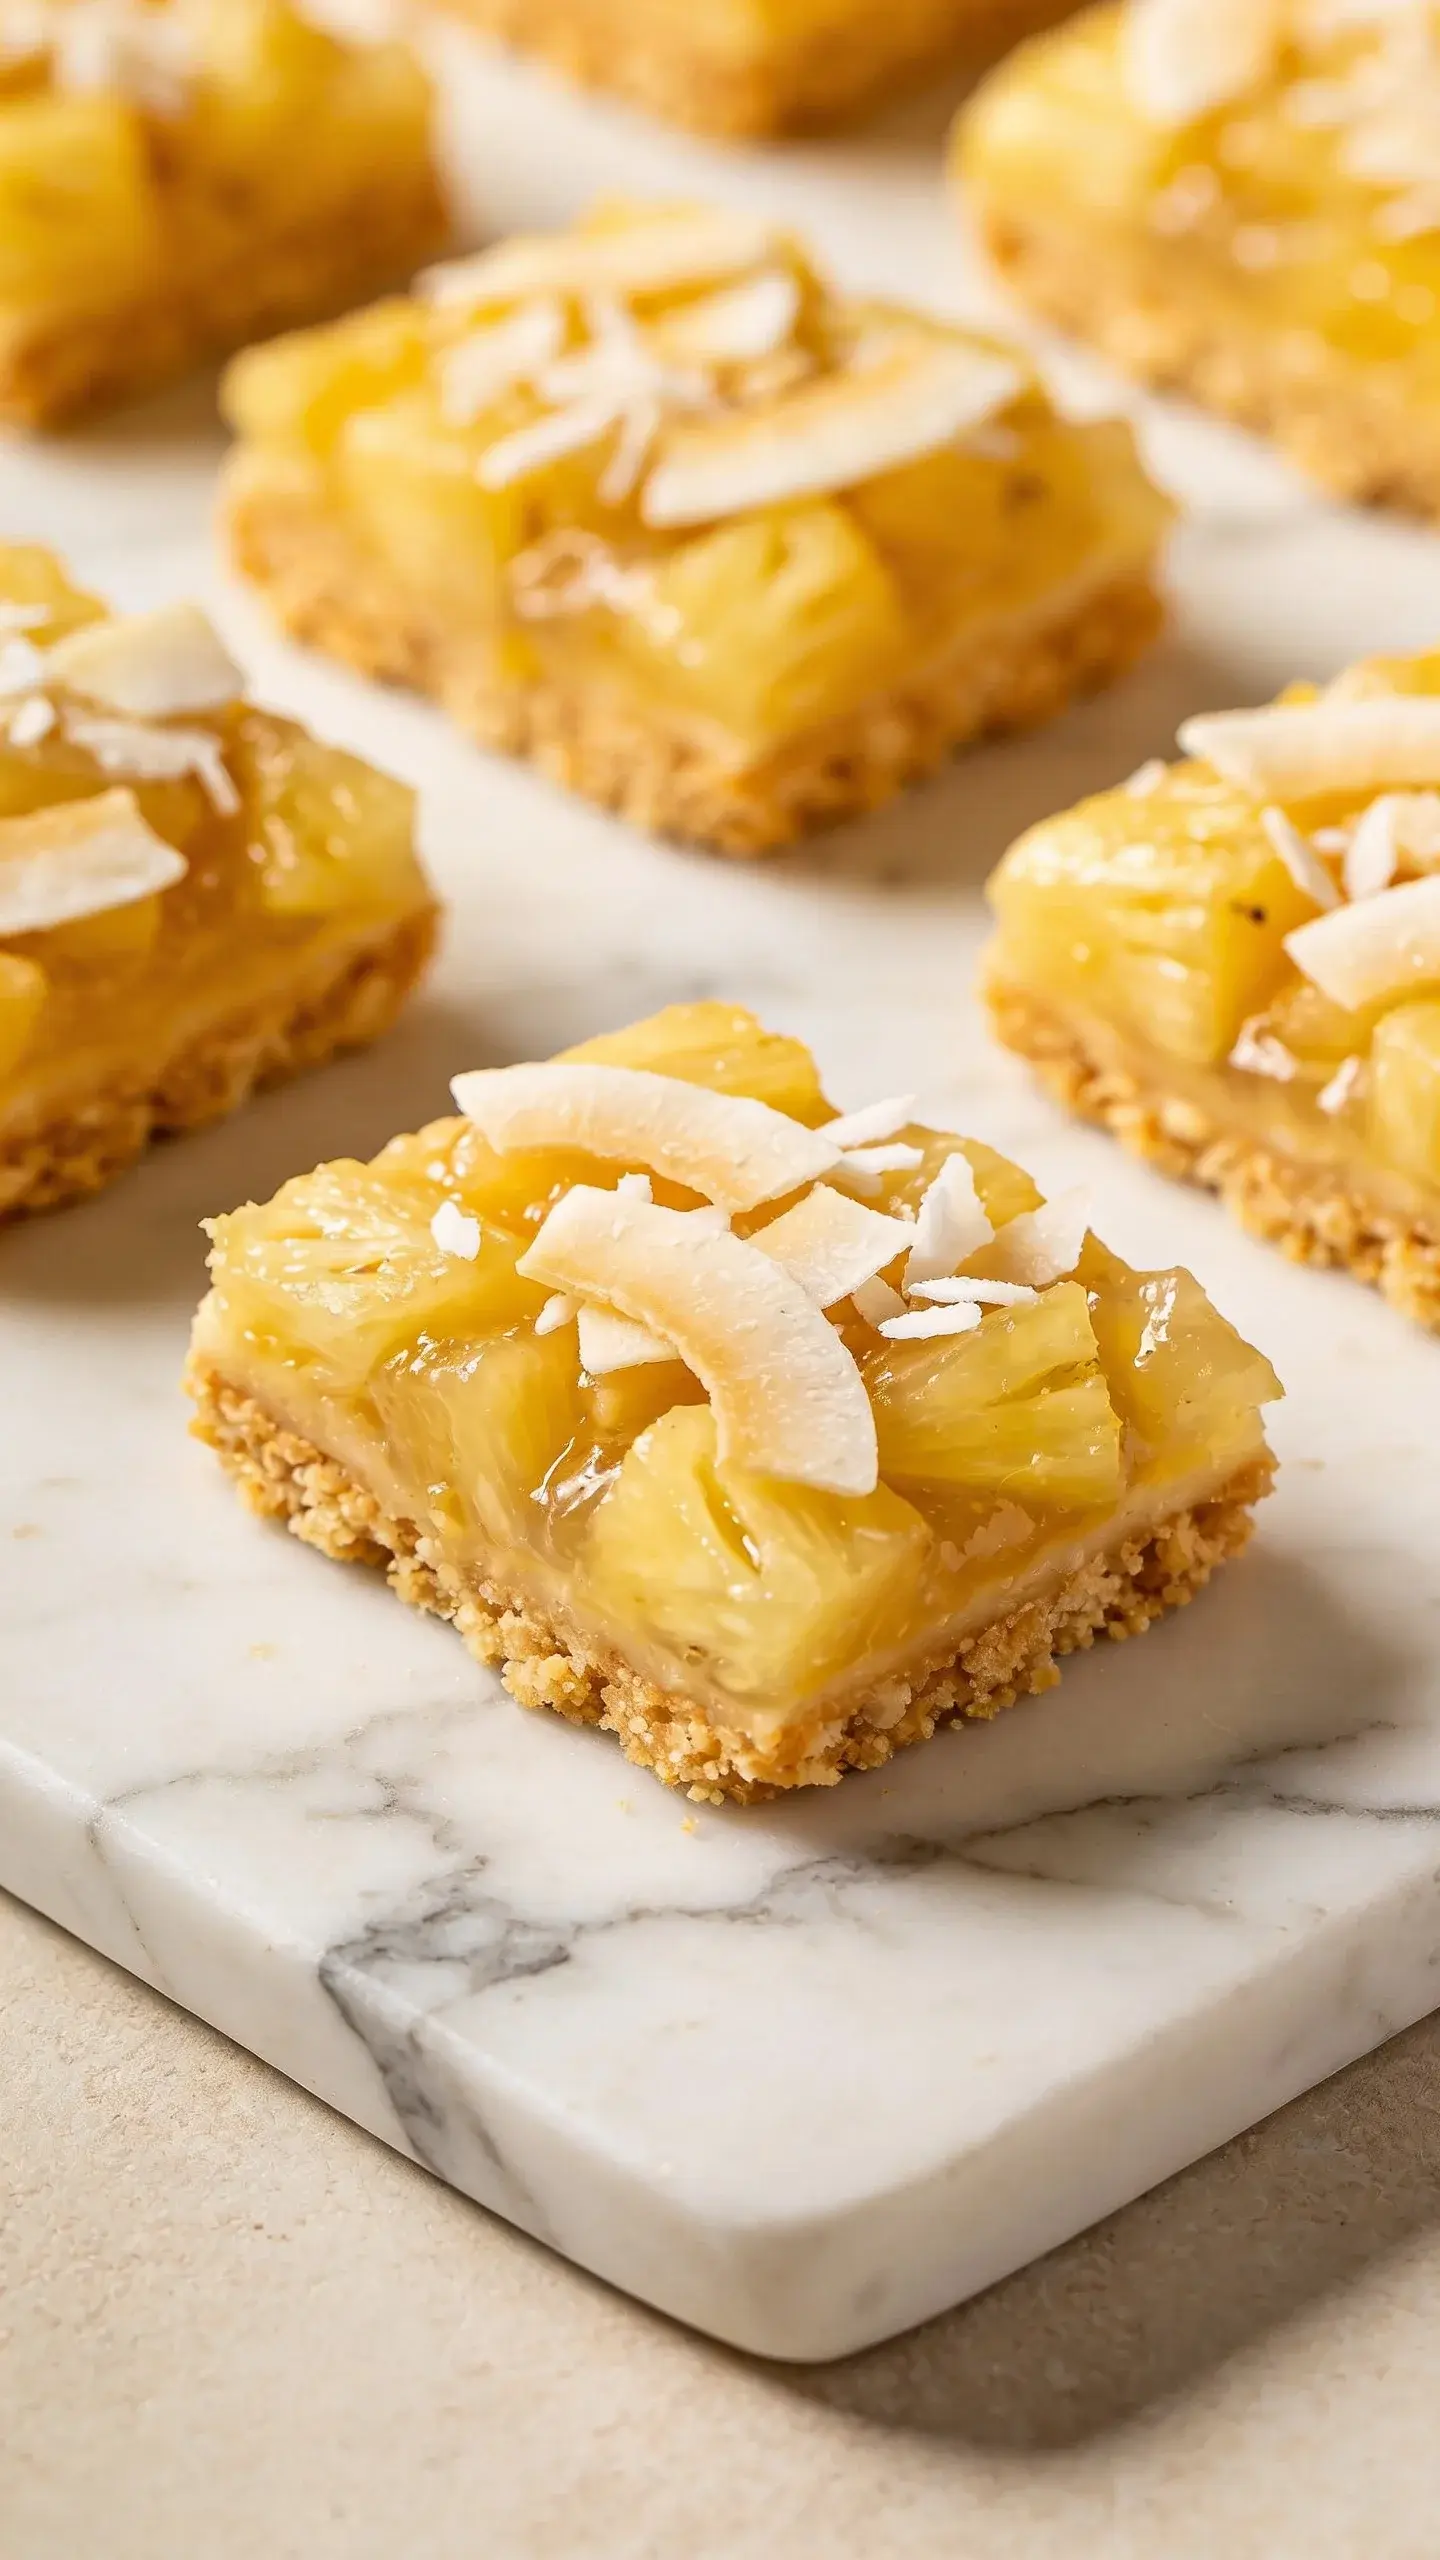
These bars aren’t just a fruity flavor kick. They strike a balance between sweet-tresh pineapple, creamy coconut, and a sturdy base that holds together without being gummy. Think: snackable energy, dessert vibes, and a pinch of vacation in every bite. FYI, the texture dances between chewy and a bit crumbly in the best way.
Ingredients that bring the tropical party
You don’t need a scavenger hunt for these. Here’s the core lineup I rely on:
- Pineapple: chopped fresh or canned in juice. Drain well if you’re using canned to avoid soggy bars.
- C Coconut (sweetened or unsweetened, your call): they add the chew and the flavor backbone.
- Oats or a mix of rolled oats for that sturdy, bar-friendly texture.
- Binder: honey, maple syrup, or a touch of coconut oil to help everything stick together.
- Flavor boosters: a pinch of salt, vanilla, and a light dusting of lime zest if you’re feeling fancy.
- Optional add-ins: white chocolate chips, chopped macadamia nuts, or crystallized ginger if you want a zing.
Step-by-step: how to whip them up
Let’s keep this simple, because nobody needs a kitchen chaos saga.
- Preheat to 350°F (175°C). Line a square pan with parchment so you don’t wrestle the bars out later.
- Stir dry ingredients in one bowl: oats, coconut, and a pinch of salt.
- In another bowl, mix pineapple, sweetener, vanilla, and any oils or zest. If the pineapple is very juicy, simmer it for a few minutes to reduce excess moisture.
- Combine wet and dry ingredients. Fold until just incorporated. Don’t overmix—texture loves to stay friendly here.
- Pour into the pan, press down firmly, and bake until the edges look golden and the center set. A toothpick should come out with a few crumbs, not raw batter.
- Cool completely before slicing. This helps the bars hold together for clean cuts.
Texture tricks: chewy, tropical, and not crumbly
If you crave bars that bite back with a little chew, you’re in the right place. A few tips to nudge texture in the right direction:
- Use a binder that you actually like. Honey adds gloss and chew; maple syrup keeps it gentler; coconut oil brings richness without sweetness overload.
- Let the mixture rest after baking. Chill for at least an hour if you want imminently neat slices.
- To prevent crumbling, keep your ratio of oats to fruit moderate. If it’s too dry, add a splash of pineapple juice or a teaspoon of milk.
Flavor pairings that take it up a notch
Pineapple and coconut are a classic duo, but a few additions can make the bars feel extra-special without tipping into dessert chaos.
Little citrus kiss
A touch of lime zest or a squeeze of lime juice brightens the fruit’s sweetness. It’s like a high-five from the tropics.
Crunchy contrast
Chopped macadamias or salted almonds give you that satisfying bite between chewy bites. If you’re feeling fancy, sprinkle a few on top before baking.
Chill factor
Dust with a tiny amount of sea salt after baking. It’s the small moment of “oh hi, this is addictive” you didn’t know you needed.
Make-ahead and storage vibes

These bars are friendly to meal prep and lazy Sundays alike.
- Store in an airtight container at room temperature for up to 4 days. If your climate is warm, refrigerate to keep them fresh.
- Freeze for longer storage. Slice first, then wrap individual bars for easy grab-and-go snacks.
- Want even cleaner ingredients? Swap in rolled oats with shredded coconut for a lighter, more beachy bite.
Flavor tweaks for different occasions
One recipe, multiple vibes. Here’s how I rotate it depending on mood or event:
- Brunch-friendly: add a handful of white chocolate chips and a splash of vanilla for a sweeter edge.
- Picnic-ready: double the coconut and skip extra liquid to keep them sturdy in heat.
- Gift-worthy: wrap bars individually and drizzle a thin glaze of pineapple juice and powdered sugar on top.
Nutritional quick take (not a lecture, promise)
If you’re listening for a quick read on the healthiness:
- Oats bring fiber for staying power.
- Pineapple gives you a bit of vitamin C and a tropical aroma that tastes like sunshine.
- Sweeteners and coconut add calories, so portion control is your friend here, especially if you’re not running a marathon tomorrow.
FAQ
Can I use fresh pineapple only?
Yes. Fresh pineapple works beautifully. If you use it, make sure you drain excess juice and pat dry to avoid soggy bars.
What if I don’t have coconut oil?
No coconut oil? No problem. You can swap with an equal amount of melted butter or a neutral oil. It’ll still bind and keep things tasty, though the coconut sheen might be a touch different.
Are these bars gluten-free?
If you use certified gluten-free oats, yes. Check your other add-ins to ensure they’re gluten-free as well.
Can I make these vegan?
Absolutely. Use maple syrup or agave as the sweetener and a plant-based binder. The texture stays great and the flavor stays sunny.
Texture and storage quick recap
– For best slice-ability, let bars cool completely before cutting. Patience pays off here.
– Store airtight, in a cool spot. Refrigeration helps in hot climates.
– Freeze for longer life and easy stocking stuffers or grab-and-go snacks.
Conclusion
Pineapple Coconut Spring Bars are the kind of recipe you make when you want a smile in bar form. They’re simple, flexible, and surprisingly forgiving, which means you’ll actually bake them rather than stare at a blinking timer wondering if you burned them. IMO, they’re perfect for spring gatherings, beach picnics, or a just-because-happiness snack. So grab a can of pineapple, a bag of coconut, and a sunny attitude—and bake your own little bit of tropical joy.