

You want the creamy, cozy goodness of a vanilla latte without putting on shoes or paying $6 for foam? Same. Let’s make a classic vanilla latte at home that tastes café-level, looks fancy, and doesn’t require barista sorcery. I’ll show you what actually matters, what you can skip, and how to tweak it so it matches your exact vibe. Bonus: it’s way easier than it looks.
What Makes a “Classic” Vanilla Latte?
A classic vanilla latte keeps things simple: espresso, steamed milk, and vanilla syrup. That’s it. No sprinkles, no caramel circus, just smooth sweetness and coffee-forward comfort.
The goal? Balance. You want espresso to lead, milk to hug it, and vanilla to add warmth without turning it into a milkshake. Think cozy morning in a mug, not dessert.
Gear You Need (And What You Can Fake)

Let’s be honest, gear can intimidate the fun out of coffee. Here’s the real deal:
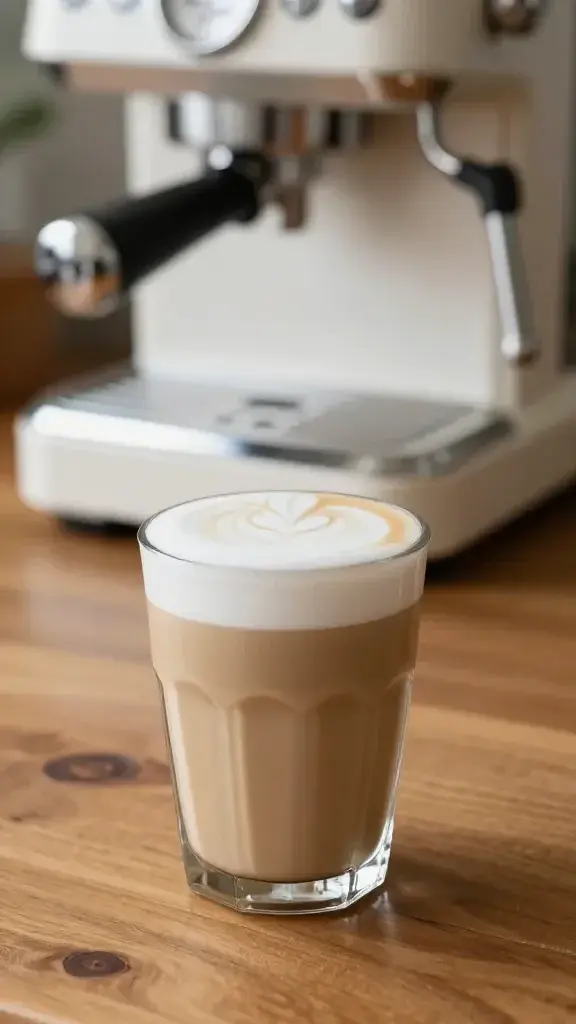
- Espresso machine: Ideal. Any machine that pulls a 1–2 oz shot works.
- No machine? Use a Moka pot, Aeropress “espresso-style,” or strong French press. FYI: It won’t be true espresso, but it still slaps.
- Milk frother: Handheld frother, French press plunger, or a lidded jar you can shake (then microwave). Steam wand if you’ve got it, obviously.
- Milk pitcher: Helpful for swirling and pouring, but a measuring cup works too.
Milk Choices that Actually Matter
- Whole milk: Creamiest microfoam and classic latte body.
- 2% milk: Lighter, still good.
- Oat milk (barista blend): Best non-dairy foam, slightly sweet and sturdy.
- Almond/soy: Can foam, but brands vary. Barista versions help.
Vanilla Syrup: Store-Bought vs. DIY
You can buy syrup and call it a day. Zero judgment. But making it takes 10 minutes and tastes fresher. Plus, you control sweetness.
Quick DIY Vanilla Syrup
- 1 cup sugar
- 1 cup water
- 1 tablespoon vanilla extract (or 1 vanilla bean split and scraped if you’re feeling extra)
- Heat sugar and water in a small pot, stir until clear.
- Remove from heat, stir in vanilla. If using a bean, simmer with it for 5 minutes, then remove.
- Cool, bottle, refrigerate up to 2 weeks (a month if you used extract and keep it clean).
Sweetness guide: Start with 1 tablespoon syrup per latte and adjust. IMO, 1.5 tablespoons hits the “classic” mark.
The Ratio: Your Latte Blueprint
For an 8–10 oz latte:
- 1–2 shots espresso (1–2 oz total)
- 6–8 oz steamed milk
- 1–2 tablespoons vanilla syrup
Stronger coffee or less sweet? Dial it to taste. You’re the boss.
Step-by-Step: Classic Vanilla Latte at Home
Follow this once and you’ll never Google it again.
- Warm the mug. Pour in hot water while you prep. Your latte stays hot longer.
- Pull your espresso. Aim for a 1:2 ratio (e.g., 18 g in, ~36 g out in 25–30 seconds) if you’re using a machine. Using Moka or Aeropress? Brew it as concentrated as possible.
- Add vanilla syrup to the mug. 1–1.5 tablespoons to start.
- Steam or heat the milk. Target 140–150°F for sweetness. If you don’t have a thermometer, stop when the pitcher feels hot but not scalding and you can touch it for ~3 seconds without swearing.
- Froth for a thin, silky microfoam. You want latte foam, not cappuccino foam. Tiny bubbles, glossy surface.
- Assemble. Pour espresso into the mug with syrup, swirl. Add milk, then finish with a thin layer of foam.
- Taste and tweak. Too sweet? Less syrup next time. Too flat? Hotter milk or a stronger shot.
Zero-Machine Method That Actually Works
- Brew 3–4 oz strong coffee in a Moka pot or Aeropress.
- Heat 6 oz milk and froth with a handheld whisk/frother or shake in a jar, then microwave 20 seconds to stabilize.
- Combine with 1 tablespoon syrup. It’s not true espresso, but it’s weeknight-friendly and tasty.
Dialing in Flavor: Little Tweaks, Big Wins
Small adjustments make your latte feel pro. Here’s what to play with:
- Espresso roast: Medium-dark gives classic café flavor. Light roast can taste bright and tea-like (cool if that’s your thing).
- Grind size and timing: If espresso runs fast and tastes sour, grind finer. If it runs slow and tastes bitter, go coarser.
- Milk temperature: Sweeter at 140–150°F. Above 160°F, it goes flat and sad. Don’t be that person.
- Syrup level: Start low, add a splash if needed. You can always add sweetness; you can’t un-sugar your cup.
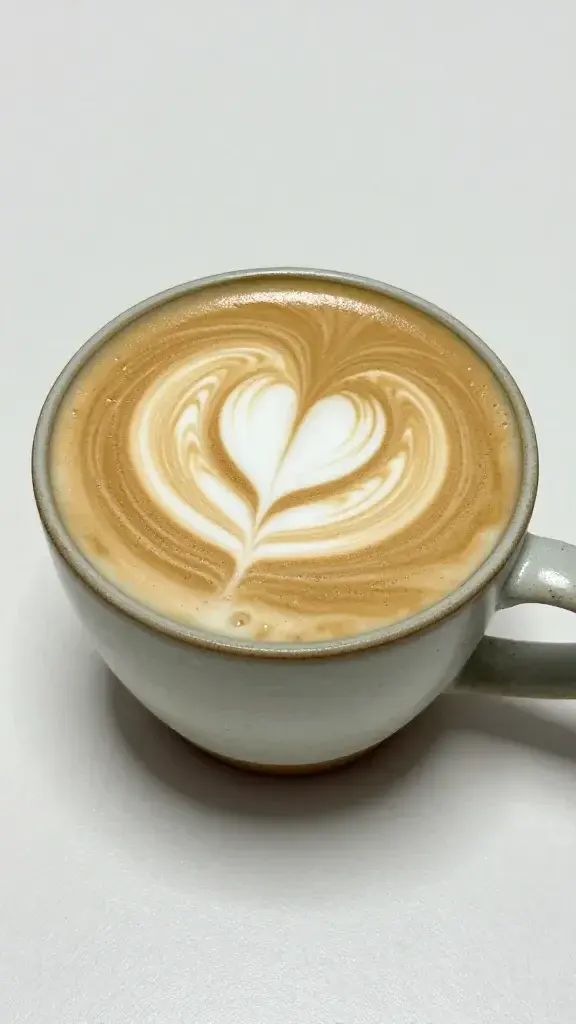
Latte Art (Optional, But Fun)
Swirl your milk to polish the surface, then pour steadily from a little height to integrate. Drop closer to the surface for designs. Heart, tulip, blob-that-you-call-modern-art—count it a win. FYI: Good microfoam makes everything easier.
Make It Yours: Variations Without Chaos
Want a switch-up without losing the classic vibe? Try these:
- Iced Vanilla Latte: Brew double-strength espresso, pour over ice, add cold milk and syrup. Stir aggressively like you mean it.
- Vanilla Honey Twist: Half vanilla syrup, half honey. Cozy and floral.
- French Vanilla: Add a splash of vanilla extract directly to the milk before steaming for extra aroma.
- Vanilla Cinnamon: Dust cinnamon on the milk before you froth. Subtle and aromatic.
- Protein Latte: Use a vanilla protein shake as part of the milk. Warm gently (don’t boil) to avoid… texture crimes.
Common Mistakes (And Easy Fixes)
Because we’ve all been there.
- Watery latte: Your coffee base isn’t concentrated enough. Use less water or a stronger method.
- Too much foam: You aerated too long. Introduce air for just a second or two, then focus on swirling.
- Scalded milk: Burnt taste = too hot. Keep it under 155°F.
- One-note sweetness: Try a pinch of salt in the syrup or a darker roast to balance. IMO, a tiny salt touch is a cheat code.
FAQ
Can I use vanilla extract instead of syrup?
You can, but you still need sweetness. Extract brings flavor, not sugar. Mix 1/4–1/2 teaspoon extract with 1–2 teaspoons sugar or simple syrup, then adjust to taste.
What milk froths best for lattes?
Whole milk wins for texture and sweetness. For non-dairy, use a barista oat milk. It foams consistently and tastes neutral-sweet without fighting the vanilla.
How many shots should I use?
One shot for a smaller mug, two shots for a standard café vibe. If you like a stronger coffee kick, go double. Your latte, your rules.
How long does homemade vanilla syrup last?
About two weeks in the fridge in a clean, sealed bottle. If you used only extract (no vanilla bean), it can stretch to a month. If it looks cloudy or smells weird, toss it. Sugar is cheap; tummy aches are not.
Do I need a thermometer?
No, but it helps. Without one, heat milk until it’s hot to the touch but not painfully hot, and the pitcher feels too warm to hold comfortably after a few seconds. After a couple tries, you’ll nail it by feel.
Why does my latte taste bitter?
Your shot likely ran too long or the water was too hot. Grind coarser, shorten the extraction, or lower the temperature if your machine allows. A slightly finer milk foam can also round off harshness.
Conclusion
You don’t need a café to get a silky, classic vanilla latte. You just need a solid coffee base, well-heated milk, and a little vanilla swagger. Start with the simple method, tweak one variable at a time, and you’ll lock in your perfect cup fast. And hey, if all else fails, add a little more syrup—no judgment, just joy.