
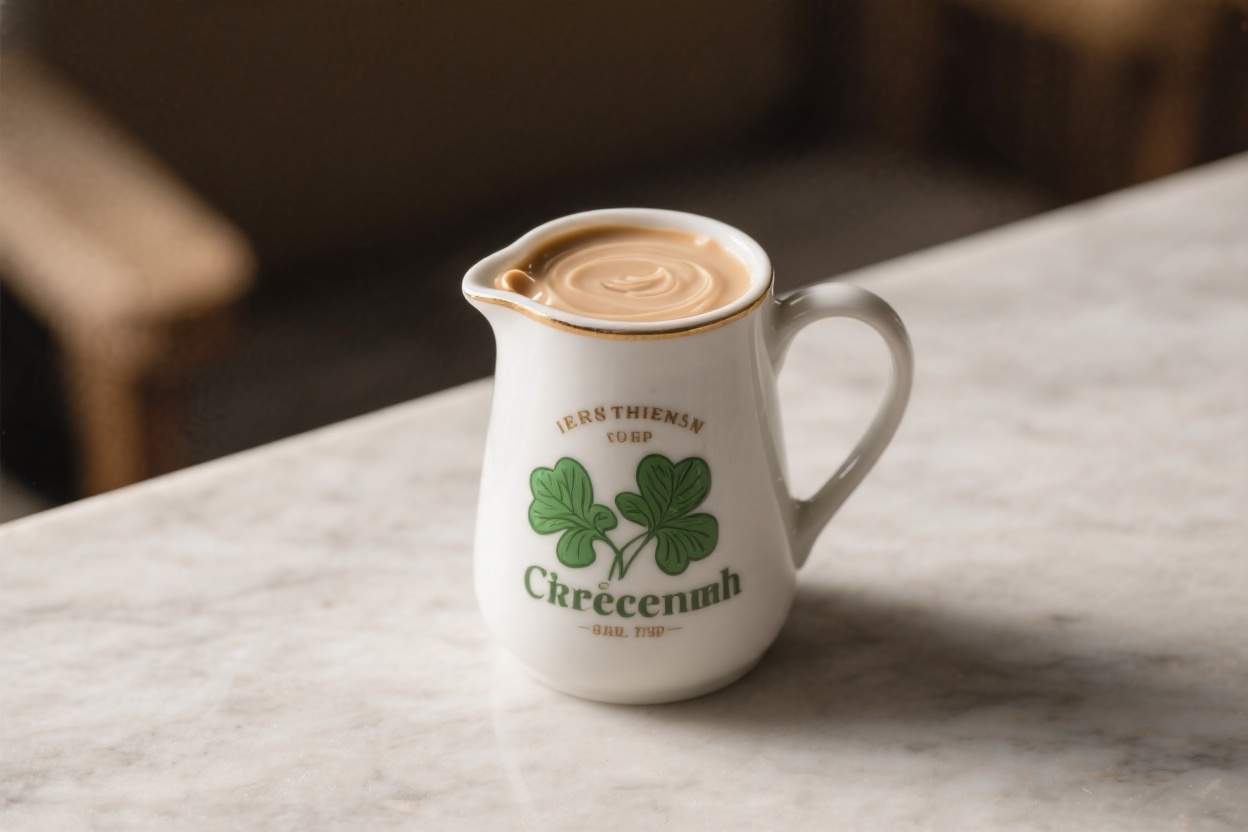
If your morning coffee feels a little flat, this Irish Cream Creamer changes everything. It’s creamy, slightly sweet, and warmly spiced with vanilla and cocoa—like a gentle nod to your favorite Irish cream liqueur, without the alcohol. It stirs in effortlessly and turns an everyday cup into something you actually look forward to.
The best part? You can make it in minutes with pantry staples. It’s simple, customizable, and far better than the store-bought stuff.
Irish Cream Creamer - A Cozy, Homemade Coffee Upgrade
Ingredients
- 1 cup heavy cream (or full-fat coconut milk for dairy-free)
- 1 cup whole milk (or unsweetened almond, oat, or cashew milk)
- 1/3 cup sweetened condensed milk (or 1/4 cup maple syrup or honey to taste)
- 1 tablespoon unsweetened cocoa powder
- 1 tablespoon instant espresso powder (or 1 teaspoon very strong brewed coffee, reduced)
- 2 teaspoons pure vanilla extract
- 1/2 teaspoon almond extract (optional but gives that classic Irish cream nuance)
- 1/8 teaspoon ground cinnamon (optional, for warmth)
- Pinch of fine sea salt (balances the sweetness)
Instructions
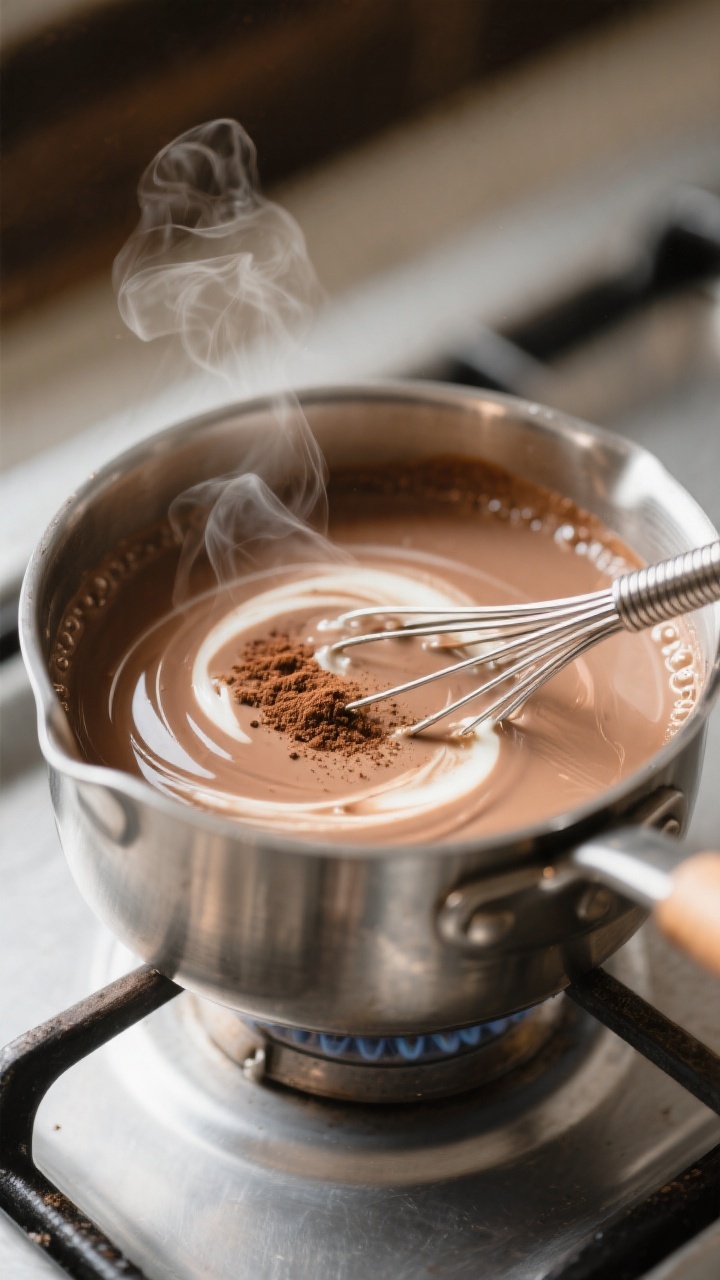
- Warm the base: In a small saucepan, combine heavy cream and whole milk. Set over low heat. You want it warm and steamy, not boiling. Stir occasionally to prevent a skin from forming.
- Whisk in flavorings: Add cocoa powder, instant espresso, cinnamon (if using), and the pinch of salt. Whisk until the cocoa fully dissolves and the mixture looks smooth and uniform.
- Sweeten: Stir in the sweetened condensed milk. Keep whisking over low heat for 1–2 minutes until everything is evenly incorporated. Do not simmer or boil.
- Finish with extracts: Remove from heat. Whisk in vanilla and almond extract. Taste and adjust sweetness or cocoa if needed. If it’s too thick, add a splash more milk.
- Cool and bottle: Let the creamer cool to room temperature. Pour through a fine-mesh strainer into a clean glass bottle or jar to catch any undissolved bits.
- Chill: Refrigerate for at least 2 hours. It will thicken slightly as it cools. Shake before each use.
- Serve: Add 1–2 tablespoons to hot coffee, cold brew, or espresso. Adjust to taste.
What Makes This Recipe So Good
- Familiar flavor, no alcohol: All the cozy notes of Irish cream—vanilla, cocoa, and a hint of caramel—without the buzz.
- Better than store-bought: You control the sweetness, the thickness, and the ingredients.
No gums or mystery additives.
- Fast and foolproof: Whisk, warm, cool, and it’s ready. No special tools required.
- Budget-friendly: Makes multiple servings for a fraction of the price of bottled creamers.
- Customizable: Dairy-free? Sugar-free?
Stronger cocoa? Easy to tweak to your taste and dietary needs.
Ingredients
- 1 cup heavy cream (or full-fat coconut milk for dairy-free)
- 1 cup whole milk (or unsweetened almond, oat, or cashew milk)
- 1/3 cup sweetened condensed milk (or 1/4 cup maple syrup or honey to taste)
- 1 tablespoon unsweetened cocoa powder
- 1 tablespoon instant espresso powder (or 1 teaspoon very strong brewed coffee, reduced)
- 2 teaspoons pure vanilla extract
- 1/2 teaspoon almond extract (optional but gives that classic Irish cream nuance)
- 1/8 teaspoon ground cinnamon (optional, for warmth)
- Pinch of fine sea salt (balances the sweetness)
Step-by-Step Instructions

- Warm the base: In a small saucepan, combine heavy cream and whole milk. Set over low heat.
You want it warm and steamy, not boiling. Stir occasionally to prevent a skin from forming.
- Whisk in flavorings: Add cocoa powder, instant espresso, cinnamon (if using), and the pinch of salt. Whisk until the cocoa fully dissolves and the mixture looks smooth and uniform.
- Sweeten: Stir in the sweetened condensed milk.
Keep whisking over low heat for 1–2 minutes until everything is evenly incorporated. Do not simmer or boil.
- Finish with extracts: Remove from heat. Whisk in vanilla and almond extract.
Taste and adjust sweetness or cocoa if needed. If it’s too thick, add a splash more milk.
- Cool and bottle: Let the creamer cool to room temperature. Pour through a fine-mesh strainer into a clean glass bottle or jar to catch any undissolved bits.
- Chill: Refrigerate for at least 2 hours.
It will thicken slightly as it cools. Shake before each use.
- Serve: Add 1–2 tablespoons to hot coffee, cold brew, or espresso. Adjust to taste.
Storage Instructions
- Refrigeration: Store in an airtight glass bottle or jar in the fridge for up to 7–10 days.
- Shake before using: Natural separation is normal.
A quick shake brings it back together.
- Freezing: Not recommended. Dairy can separate and turn grainy after thawing.
- Freshness check: If it smells sour, looks curdled, or tastes off, discard it.
Benefits of This Recipe
- Balanced sweetness: Just sweet enough to round out coffee without making it cloying.
- Clean ingredient list: You know exactly what’s going into your cup.
- Adaptable for diets: Works well with dairy-free milks and lower-sugar options.
- Consistent results: The method is simple and reliable, even for beginners.
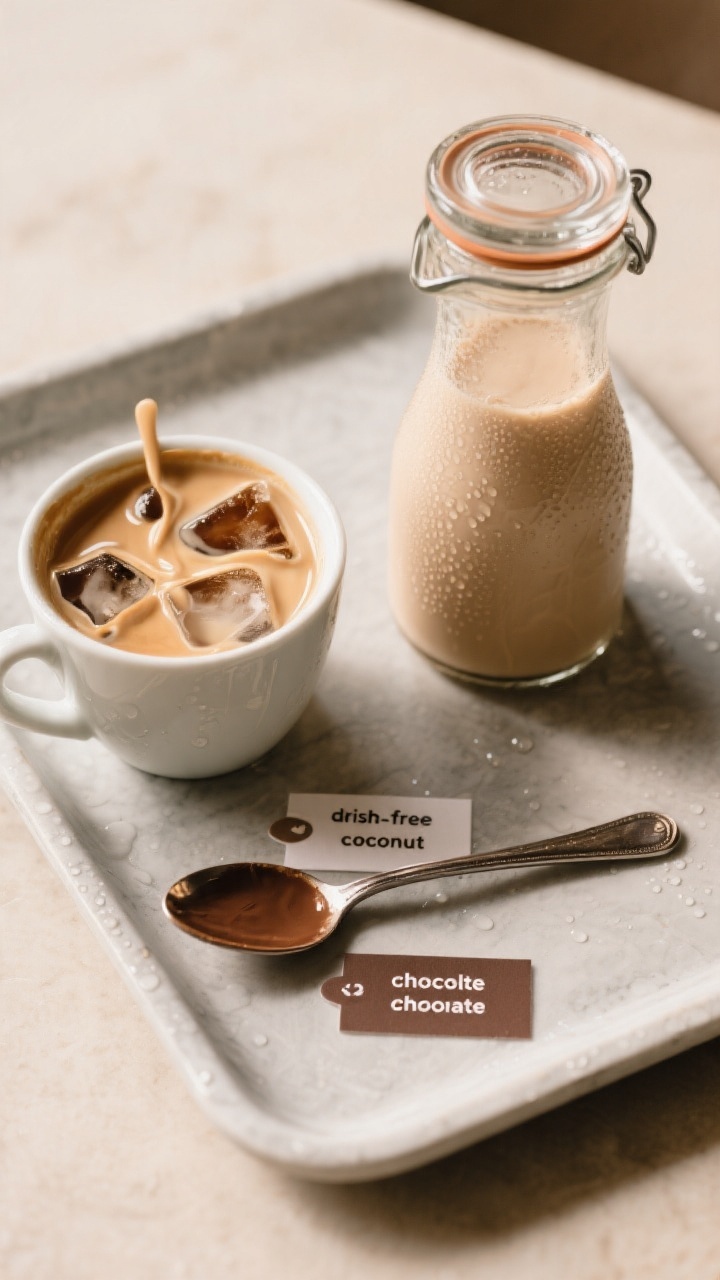
- Multi-use: Great in iced coffee, hot chocolate, and even drizzled over oatmeal.
What Not to Do
- Don’t boil the mixture: High heat can scorch dairy, split the fat, and dull the flavors.
- Don’t skip the salt: A pinch makes the cocoa and vanilla pop and keeps sweetness in check.
- Don’t add extracts over heat: Heat can flatten their aroma. Stir them in off the burner.
- Don’t store in plastic if possible: Strong flavors can cling to plastic.
Glass keeps taste clean.
- Don’t guess measurements if tracking sugar: Use a measuring spoon for consistent sweetness.
Variations You Can Try
- Dairy-Free Deluxe: Use full-fat coconut milk plus almond milk. Sweeten with maple syrup. Add an extra pinch of salt to balance the coconut.
- Light and Lean: Use half-and-half instead of heavy cream and 2% milk.
Start with 2 tablespoons condensed milk and add to taste.
- Chocolate-Forward: Increase cocoa to 1.5 tablespoons and add 1 teaspoon dark chocolate syrup for a mocha vibe.
- Sugar-Free Friendly: Replace condensed milk with 2–3 tablespoons erythritol or allulose and 1 teaspoon vanilla syrup (sugar-free). Warm until dissolved.
- Spiced Holiday: Add a pinch of nutmeg and a drop of rum extract for a festive twist.
- Extra-Nutty: Swap almond extract for hazelnut extract to lean into a Frangelico-style hint.
- With Real Coffee: Reduce 1/4 cup strong brewed coffee to 1 tablespoon in a pan to concentrate, then add in place of espresso powder.
FAQ
Does this taste like real Irish cream liqueur?
It mimics the flavor profile—vanilla, cocoa, slight nuttiness, gentle coffee notes—without the alcohol. If you miss the warmth of liqueur, a drop or two of rum extract can suggest that flavor without adding booze.
Can I make it completely dairy-free?
Yes.
Use full-fat coconut milk for the cream component and almond, oat, or cashew milk for the rest. Sweeten with maple syrup or a dairy-free sweetened condensed coconut milk. Add a pinch more salt to tame coconut’s natural sweetness.
How do I prevent graininess from cocoa or espresso powder?
Whisk thoroughly while the mixture is warm and consider sifting the cocoa first.
Straining the finished creamer through a fine-mesh sieve ensures a silky texture.
Can I reduce the sugar?
Absolutely. Start with less condensed milk and taste as you go. You can also use a low-calorie sweetener like allulose, which dissolves cleanly and doesn’t crystallize as much as erythritol.
How long does it last in the fridge?
About 7–10 days when kept cold in a sealed glass container.
Always rely on smell and appearance—if it’s sour or separated beyond a quick shake, it’s time to discard.
Is it safe to heat this in the microwave?
Yes, but do it gently. Short 10–15 second bursts and stir between each. Overheating may cause separation.
Can I use this in tea or hot chocolate?
Definitely.
It’s lovely in strong black tea and makes hot chocolate richer. Start with a tablespoon and adjust to taste.
How much should I add to my coffee?
Begin with 1 tablespoon per 8 ounces of coffee. Add more if you prefer a creamier, sweeter cup.
What if my creamer separates after a few days?
A quick shake usually fixes it.
If it remains split, whisk or blend briefly. Persistent separation often means it was overheated during cooking.
In Conclusion
Homemade Irish Cream Creamer is simple, warm, and far more delicious than any bottle you’ll grab off the shelf. It brings gentle cocoa, vanilla, and coffee notes to your mug, with sweetness you can actually control.
Make a batch on Sunday, stash it in the fridge, and treat every morning like a small ritual. It’s easy to customize, quick to prepare, and guaranteed to upgrade whatever coffee you already love.
Printable Recipe Card
Want just the essential recipe details without scrolling through the article? Get our printable recipe card with just the ingredients and instructions.