
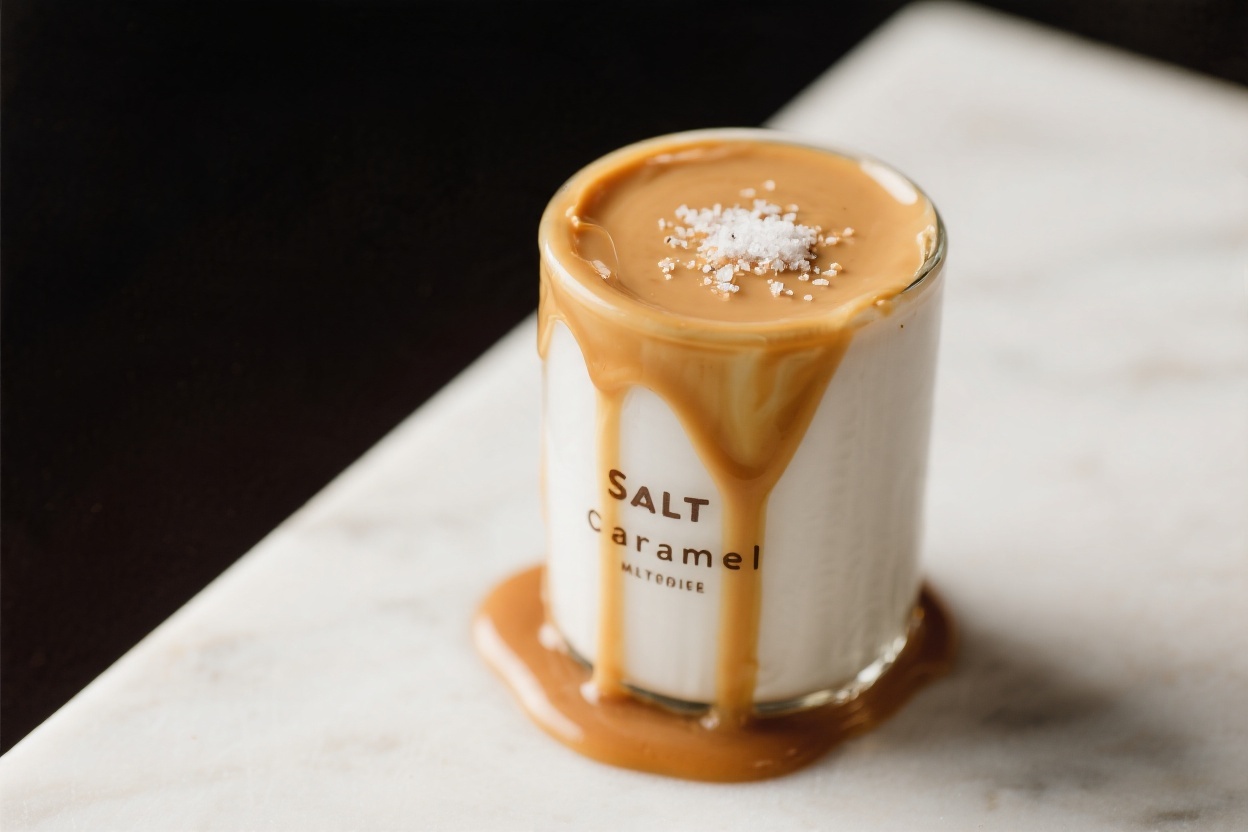
If your morning coffee feels a little flat lately, this Salted Caramel Creamer is the sweet, buttery lift it’s been missing. It’s smooth, lightly salty, and just rich enough to feel special without being heavy. Make a small batch on the stove in 15 minutes, and you’ll have a café-style treat ready all week.
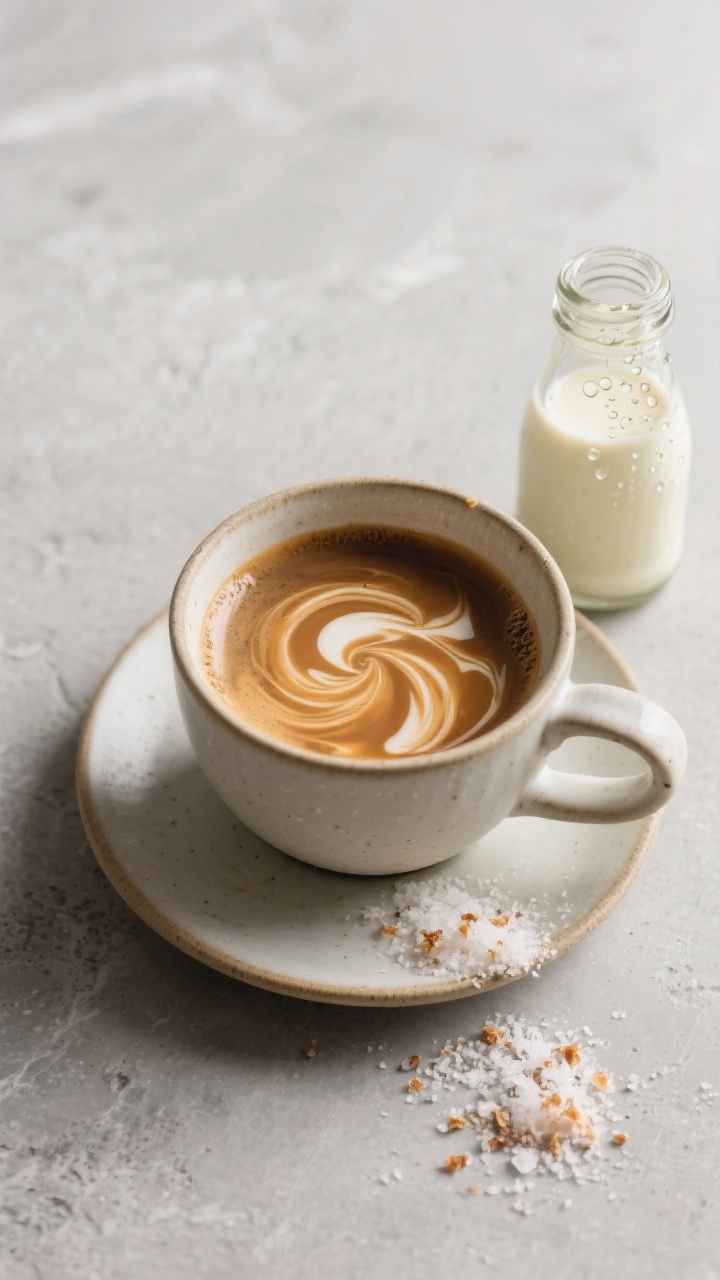
You control the sweetness and the ingredients, and you’ll likely spend less than a single fancy latte. Slip a splash into hot or iced coffee and enjoy the kind of cup that makes you pause.
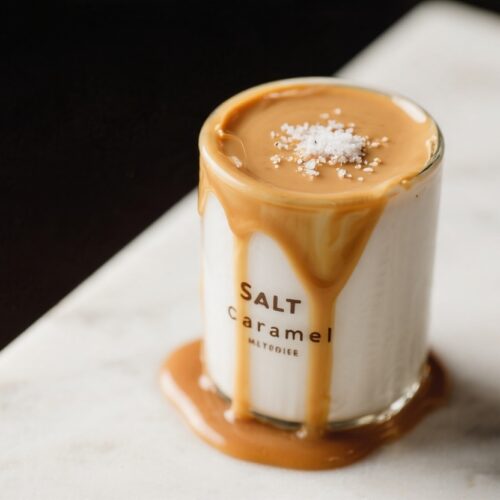
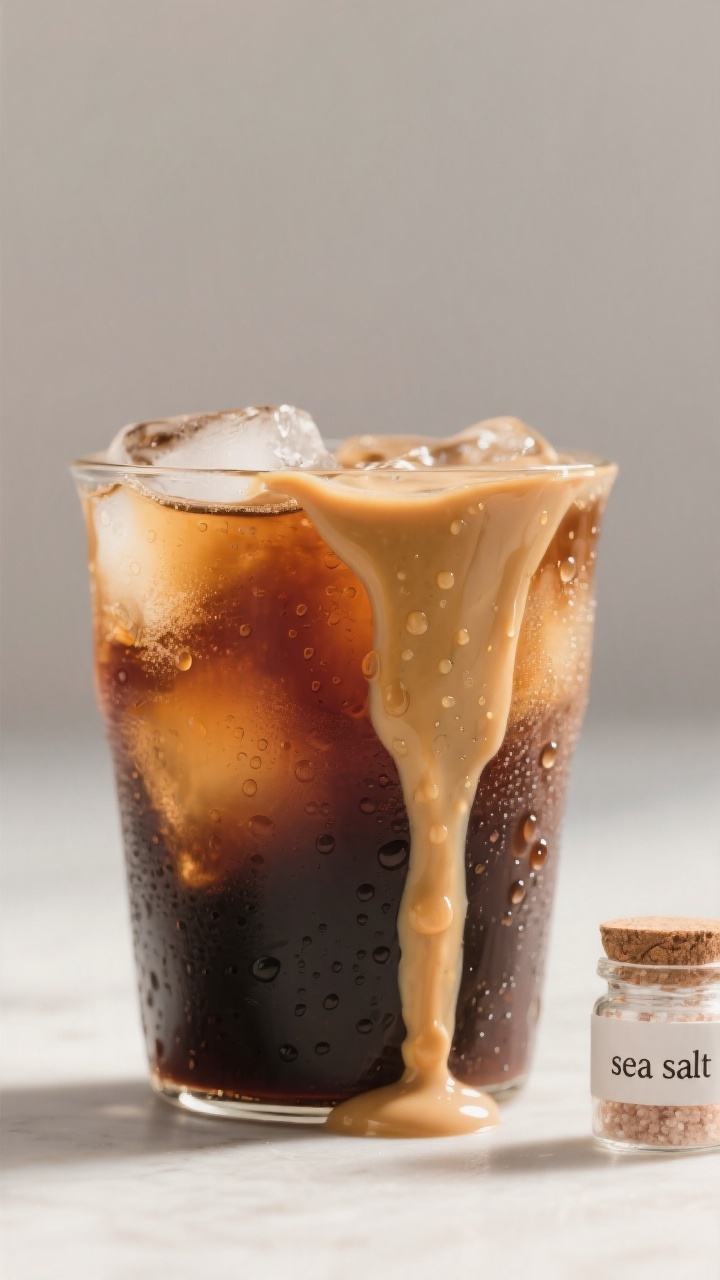
Salted Caramel Creamer - A Cozy, Homemade Coffee Upgrade
Ingredients
- Brown sugar (light or dark; dark gives deeper molasses notes)
- Granulated sugar (helps the caramel set the right way)
- Unsalted butter (or vegan butter for dairy-free)
- Heavy cream (or full-fat coconut milk for dairy-free)
- Milk (whole, 2%, or unsweetened almond, oat, or cashew milk)
- Pure vanilla extract
- Fine sea salt (start small; you can add more)
- Optional thickeners: cornstarch or arrowroot (if you want a thicker, more luxurious texture)
- 1/3 cup granulated sugar
- 1/4 cup brown sugar
- 2 tablespoons unsalted butter
- 1/2 cup heavy cream
- 1 cup milk
- 1 teaspoon vanilla extract
- 1/4 to 1/2 teaspoon fine sea salt, to taste
- Optional: 1 teaspoon cornstarch whisked into 1 tablespoon cold milk
Instructions
- Warm your pan: Use a medium, light-colored saucepan so you can see the sugar change color. Set it over medium heat.
- Melt and caramelize the sugars: Add the granulated sugar and brown sugar. Stir occasionally as they melt and clump. Keep stirring until the mixture turns smooth and a deep amber color, about 4–6 minutes. If it smokes, lower the heat.
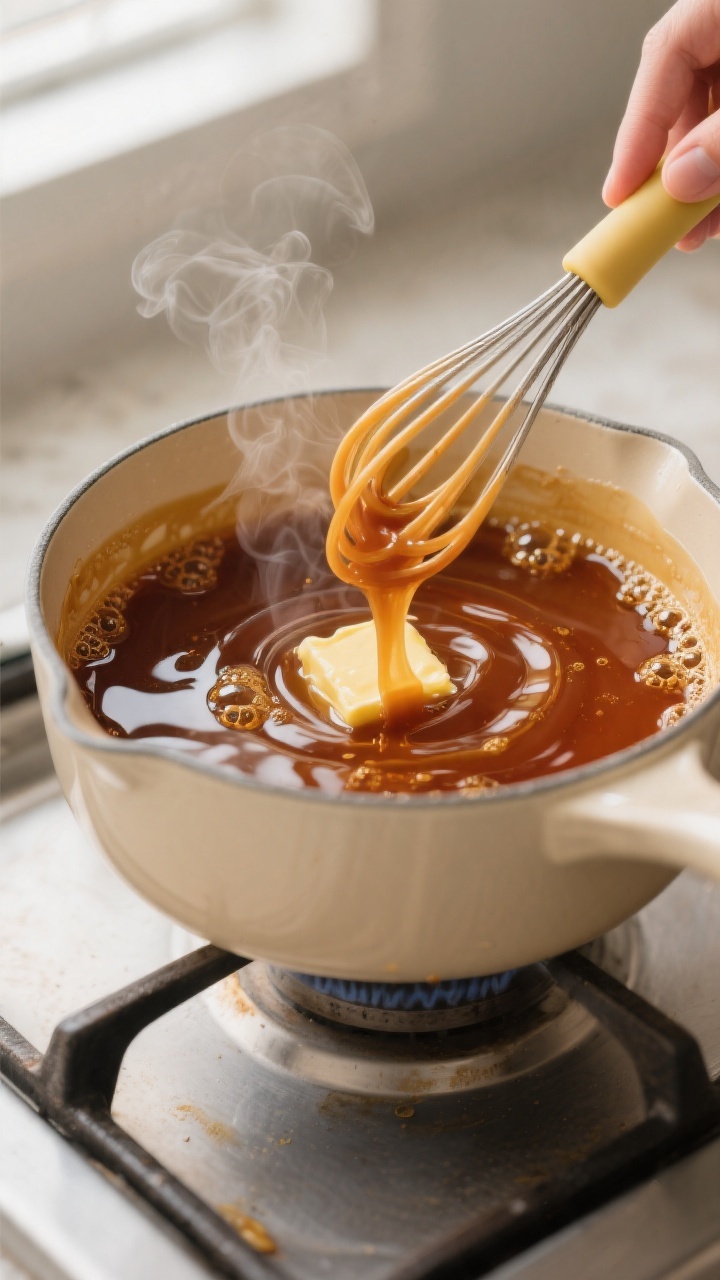
- Add the butter: Stir in the butter until fully melted and glossy. The mixture will bubble—this is normal. Keep stirring.
- Stream in cream: Slowly add the heavy cream while stirring. The caramel may seize a bit at first; keep stirring over low heat until smooth again.
- Add milk and flavor: Pour in the milk, then add the vanilla and 1/4 teaspoon sea salt. Whisk to combine and bring just to a gentle simmer. Do not boil hard.
- Adjust thickness (optional): For a thicker creamer, whisk in the cornstarch slurry and simmer 30–60 seconds, stirring, until slightly thickened.
- Taste and fine-tune: Add a pinch more salt if needed. You want a balanced sweet-salty taste, not a salty one.
- Cool and store: Let the creamer cool 15–20 minutes, then transfer to a clean bottle or jar. Seal and refrigerate.
- Use: Shake before using. Start with 1–2 tablespoons per cup of coffee and adjust to taste.
What Makes This Special
This creamer blends real caramel notes with a pinch of sea salt for a balanced, not-too-sweet finish. It avoids artificial flavors and syrups, so the flavor tastes warm and natural.
You can tailor the richness, swap dairy for non-dairy, and adjust the salt to your preference. It’s versatile, too—great in coffee, cold brew, black tea, or even drizzled over oatmeal.
- Balanced flavor: The salt sharpens the caramel and keeps it from tasting cloying.
- Customizable: Choose your milk, sweetness level, and thickness.
- Budget-friendly: A few pantry staples create a week’s worth of creamer.
- Make-ahead: Keeps in the fridge, so your morning routine gets easier.
Shopping List
- Brown sugar (light or dark; dark gives deeper molasses notes)
- Granulated sugar (helps the caramel set the right way)
- Unsalted butter (or vegan butter for dairy-free)
- Heavy cream (or full-fat coconut milk for dairy-free)
- Milk (whole, 2%, or unsweetened almond, oat, or cashew milk)
- Pure vanilla extract
- Fine sea salt (start small; you can add more)
- Optional thickeners: cornstarch or arrowroot (if you want a thicker, more luxurious texture)
For a standard batch (about 2 cups):
- 1/3 cup granulated sugar
- 1/4 cup brown sugar
- 2 tablespoons unsalted butter
- 1/2 cup heavy cream
- 1 cup milk
- 1 teaspoon vanilla extract
- 1/4 to 1/2 teaspoon fine sea salt, to taste
- Optional: 1 teaspoon cornstarch whisked into 1 tablespoon cold milk
Step-by-Step Instructions
- Warm your pan: Use a medium, light-colored saucepan so you can see the sugar change color. Set it over medium heat.
- Melt and caramelize the sugars: Add the granulated sugar and brown sugar.
Stir occasionally as they melt and clump. Keep stirring until the mixture turns smooth and a deep amber color, about 4–6 minutes. If it smokes, lower the heat.
- Add the butter: Stir in the butter until fully melted and glossy.
The mixture will bubble—this is normal. Keep stirring.
- Stream in cream: Slowly add the heavy cream while stirring. The caramel may seize a bit at first; keep stirring over low heat until smooth again.
- Add milk and flavor: Pour in the milk, then add the vanilla and 1/4 teaspoon sea salt.
Whisk to combine and bring just to a gentle simmer. Do not boil hard.
- Adjust thickness (optional): For a thicker creamer, whisk in the cornstarch slurry and simmer 30–60 seconds, stirring, until slightly thickened.
- Taste and fine-tune: Add a pinch more salt if needed. You want a balanced sweet-salty taste, not a salty one.
- Cool and store: Let the creamer cool 15–20 minutes, then transfer to a clean bottle or jar.
Seal and refrigerate.
- Use: Shake before using. Start with 1–2 tablespoons per cup of coffee and adjust to taste.
Keeping It Fresh
- Refrigerate immediately: Store in an airtight container for 7–10 days if made with dairy.
- Dairy-free version: If using coconut milk and plant milk, use within 5–7 days.
- Shake before pouring: Natural separation is normal. A quick shake brings it back together.
- Warm gently to reblend: If it thickens too much, warm the jar in a bowl of hot water and shake.
- Freeze in portions: For longer storage, freeze in ice cube trays for up to 2 months.
Thaw a cube overnight in the fridge.
Benefits of This Recipe
- Control over ingredients: Skip preservatives and excess sugars often found in store-bought creamers.
- Flexible sweetness: Adjust the amount of sugar to suit your taste or dietary goals.
- Better value: Make multiple servings for the price of a single café drink.
- Consistent flavor: Your preferred balance of caramel and salt, every time.
- Works hot or cold: Ideal for hot coffee, cold brew, lattes, and even black tea.
What Not to Do
- Don’t rush the caramel: High heat can burn the sugars in seconds. Medium heat gives you control.
- Don’t walk away: Caramel goes from perfect to scorched quickly. Stay close and keep stirring.
- Don’t over-salt upfront: Start with less salt and add more at the end.
You can’t take it out.
- Don’t boil aggressively: A hard boil can curdle dairy and dull the flavor.
- Don’t store while hot: Let it cool before sealing to prevent condensation and texture issues.
Variations You Can Try
- Dairy-Free Coconut Caramel: Use vegan butter, full-fat coconut milk, and unsweetened almond or oat milk. Add a pinch of coconut sugar for depth.
- Maple Salted Caramel: Replace the brown sugar with maple syrup (use 1/3 cup). Expect a slightly looser texture and a lovely maple note.
- Vanilla Bean: Split a vanilla bean and simmer it with the milk.
Remove before storing for a bakery-style aroma.
- Espresso Caramel: Stir in 1–2 teaspoons instant espresso powder to the caramel for a mocha-caramel twist.
- Smoky Salt: Finish with a pinch of smoked sea salt for a subtle campfire note. Go light—it’s potent.
- Extra Thick: Use all heavy cream in place of milk for a richer, dessert-like creamer.
FAQ
Can I make it less sweet?
Yes. Reduce the sugars by 2–3 tablespoons total, or add an extra 1/4 cup milk to dilute sweetness without changing texture much.
Taste and adjust the salt at the end for balance.
Why did my caramel seize when I added cream?
This happens when the cooler cream hits hot caramel. Keep stirring over low heat and it will smooth out. Next time, warm your cream slightly before adding for a gentler transition.
Can I skip the butter?
You can, but butter adds body and that classic caramel flavor.
If skipping, consider using a touch more cream or a teaspoon of neutral oil to round out the texture.
What kind of salt works best?
Fine sea salt dissolves easily and gives you consistent results. Flaky salt is great as a finishing touch but can be inconsistent inside the creamer.
How do I avoid curdling?
Keep the heat low once the dairy is in, and avoid vigorous boiling. If using plant milks, choose barista-style versions that handle heat better.
Can I use only brown sugar?
Yes, but the caramel may be a bit darker and taste more molasses-forward.
Using some granulated sugar keeps the flavor cleaner and the texture smoother.
Is this safe for iced coffee?
Absolutely. It blends well with cold brew or iced coffee. Shake the creamer first, then pour and stir; the caramel flavor stands up nicely to ice.
How much should I use per cup?
Start with 1–2 tablespoons per 8–12 ounces of coffee.
Add more if you like a dessert-style cup.
Can I double the recipe?
Yes. Use a larger pot and keep the heat moderate. Caramel scales well, but watch the color closely so it doesn’t overcook.
What if it’s too thick after chilling?
Thin it with a splash of milk and shake.
You can also warm it briefly in a bowl of hot water to loosen it.
Final Thoughts
Homemade Salted Caramel Creamer brings café comfort to your own kitchen with simple ingredients and a short cook time. The sweet-salty balance feels special, and the texture is smooth and creamy without being over the top. Make it once, tweak it to your liking, and you’ll have a reliable, everyday treat that makes each cup feel like a small luxury.
Shake, pour, sip, and enjoy the calm start you’ve been craving.
Printable Recipe Card
Want just the essential recipe details without scrolling through the article? Get our printable recipe card with just the ingredients and instructions.