
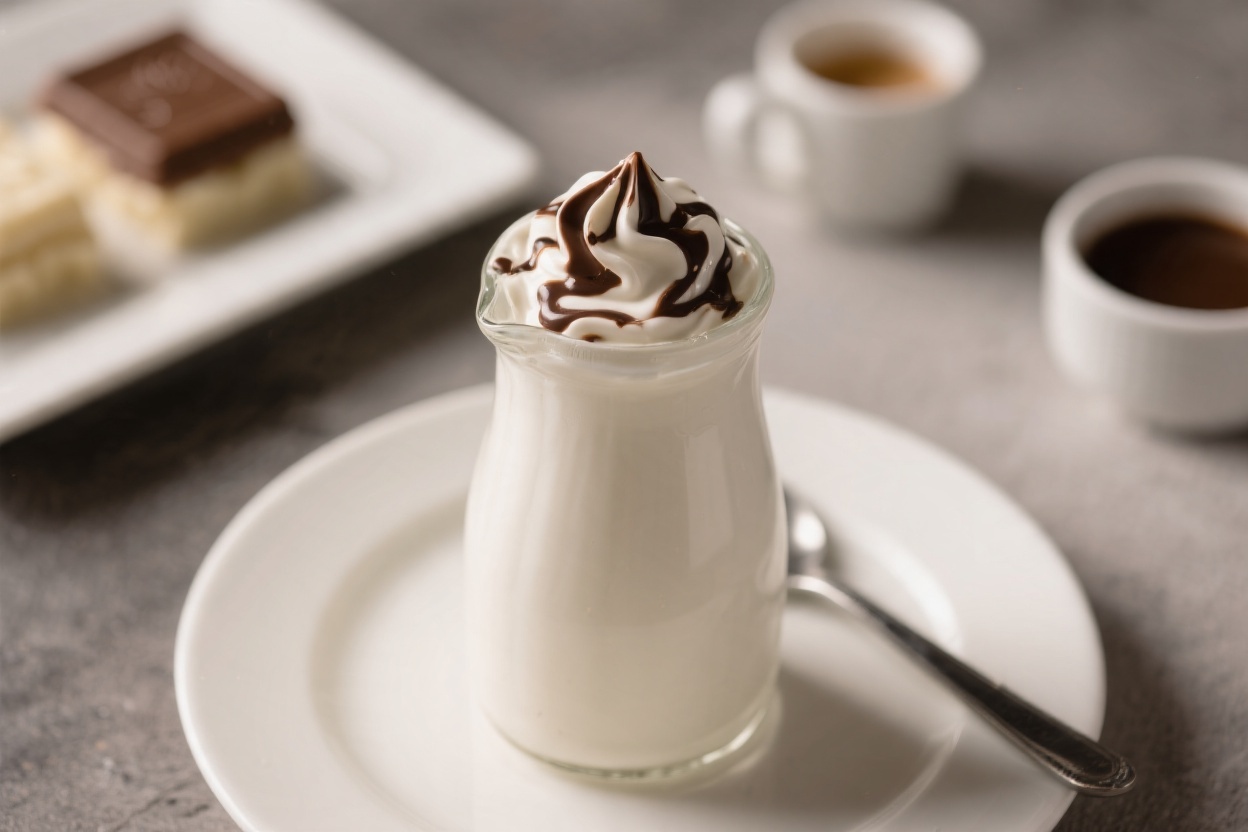
If you love a white chocolate mocha from your favorite café, this homemade creamer brings that same cozy sweetness to your kitchen. It’s creamy, smooth, and just the right kind of indulgent for busy mornings or weekend slow sips. You only need a few simple ingredients and about 10 minutes on the stove.
The result is a silky, balanced creamer that turns regular coffee into a treat. No special equipment, no long list of steps—just comfort in a jar.
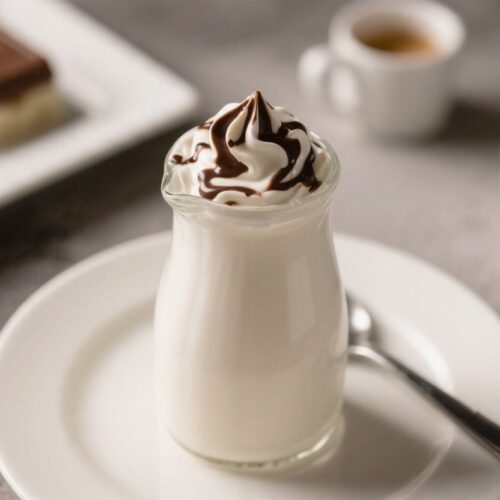
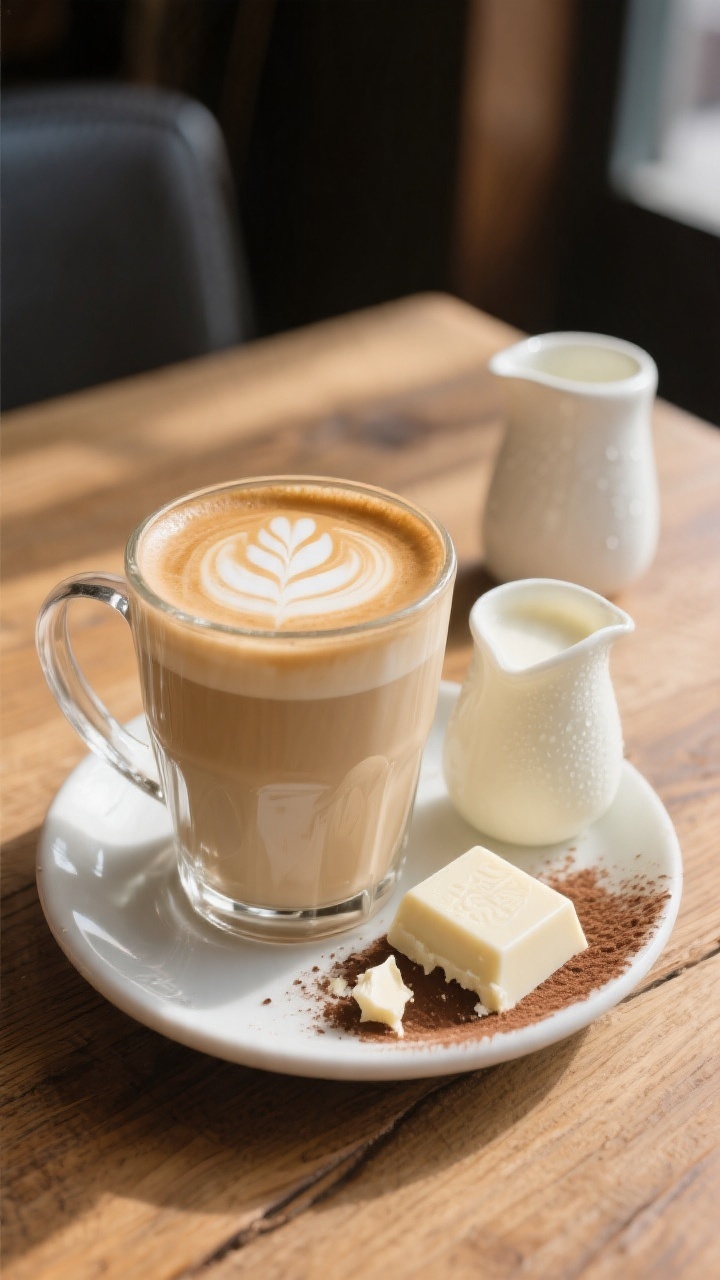
White Chocolate Mocha Creamer - A Cozy, Coffee-Shop Touch at Home
Ingredients
- Milk: 1 cup whole milk (for creaminess). You can use 2% if you prefer it lighter.
- Heavy cream: 1 cup for a rich, café-style texture.
- White chocolate: 4 ounces, finely chopped. Choose real white chocolate made with cocoa butter, not just “white baking chips.”
- Sweetened condensed milk (optional): 2–3 tablespoons if you like it sweeter and thicker.
- Vanilla extract: 1 teaspoon to round out the flavors.
- Instant espresso powder or very strong brewed coffee: 1–2 teaspoons espresso powder, or 2 tablespoons concentrated coffee, for the mocha note.
- Pinch of salt: Just a tiny pinch to enhance flavor and keep it from tasting flat.
Instructions
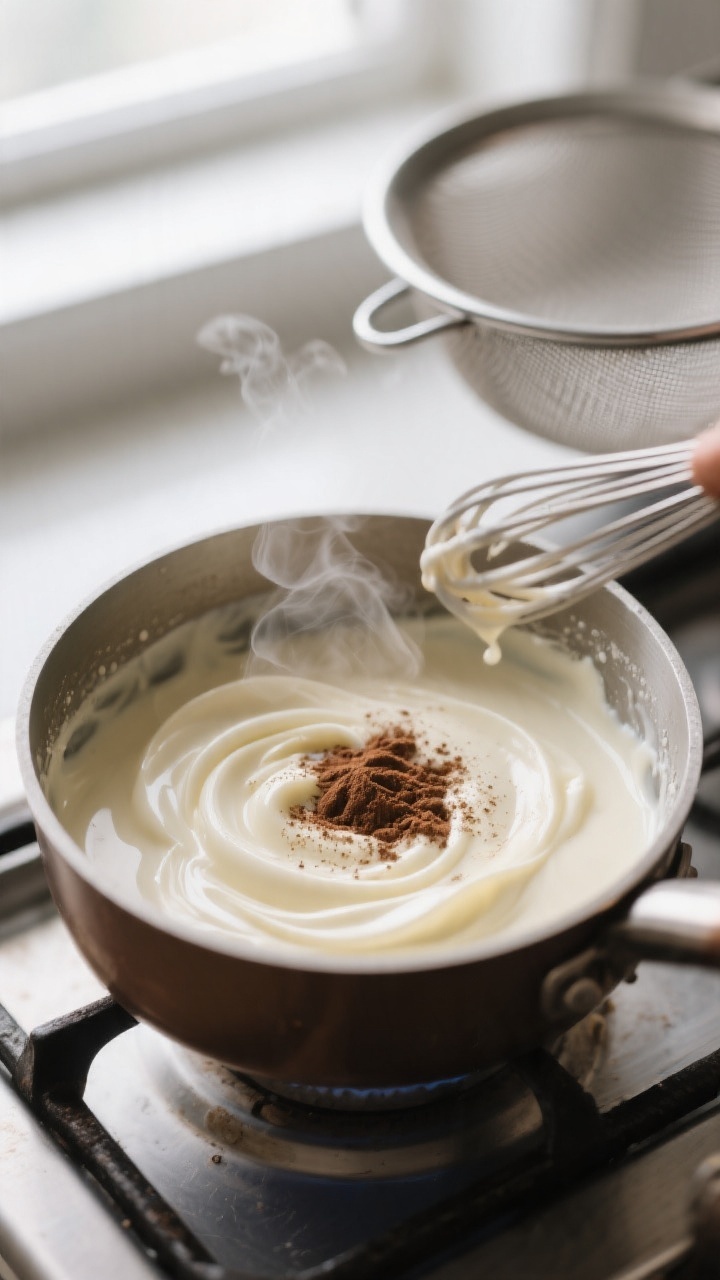
- Warm the dairy gently. In a small saucepan, add the milk and heavy cream. Heat over low to medium-low until steam rises and small bubbles form at the edges. Do not boil.
- Add the white chocolate. Remove the pan from heat and stir in the finely chopped white chocolate. Let it sit for 30 seconds, then whisk until completely smooth.
- Sweeten to taste. If you want a thicker, sweeter creamer, whisk in 2–3 tablespoons of sweetened condensed milk. Start small—you can always add more.
- Flavor with mocha and vanilla. Whisk in the espresso powder (or concentrated coffee), vanilla extract, and a tiny pinch of salt. Taste and adjust the espresso or sweetness to your preference.
- Cool and strain (optional). If any tiny bits of chocolate remain, pour the mixture through a fine-mesh strainer into a heat-safe bowl or measuring cup.
- Bottle and chill. Transfer the creamer to a clean glass jar or bottle with a tight lid. Let it cool at room temperature for 15–20 minutes, then refrigerate.
- Shake before using. The creamer can separate slightly in the fridge. Give it a good shake before pouring into coffee.
What Makes This Special
This creamer nails the balance between sweet white chocolate and a gentle mocha finish. Instead of being cloying, it has a clean, velvety profile that blends beautifully with coffee.
You can also control the sweetness, which is hard to do with store-bought versions. Plus, it’s made with real white chocolate, not flavoring syrups, so the texture is richer and more satisfying. It stores well, froths nicely, and makes weekday coffee feel a little more thoughtful.
What You’ll Need
- Milk: 1 cup whole milk (for creaminess).
You can use 2% if you prefer it lighter.
- Heavy cream: 1 cup for a rich, café-style texture.
- White chocolate: 4 ounces, finely chopped. Choose real white chocolate made with cocoa butter, not just “white baking chips.”
- Sweetened condensed milk (optional): 2–3 tablespoons if you like it sweeter and thicker.
- Vanilla extract: 1 teaspoon to round out the flavors.
- Instant espresso powder or very strong brewed coffee: 1–2 teaspoons espresso powder, or 2 tablespoons concentrated coffee, for the mocha note.
- Pinch of salt: Just a tiny pinch to enhance flavor and keep it from tasting flat.
Step-by-Step Instructions
- Warm the dairy gently. In a small saucepan, add the milk and heavy cream. Heat over low to medium-low until steam rises and small bubbles form at the edges.
Do not boil.
- Add the white chocolate. Remove the pan from heat and stir in the finely chopped white chocolate. Let it sit for 30 seconds, then whisk until completely smooth.
- Sweeten to taste. If you want a thicker, sweeter creamer, whisk in 2–3 tablespoons of sweetened condensed milk. Start small—you can always add more.
- Flavor with mocha and vanilla. Whisk in the espresso powder (or concentrated coffee), vanilla extract, and a tiny pinch of salt.
Taste and adjust the espresso or sweetness to your preference.
- Cool and strain (optional). If any tiny bits of chocolate remain, pour the mixture through a fine-mesh strainer into a heat-safe bowl or measuring cup.
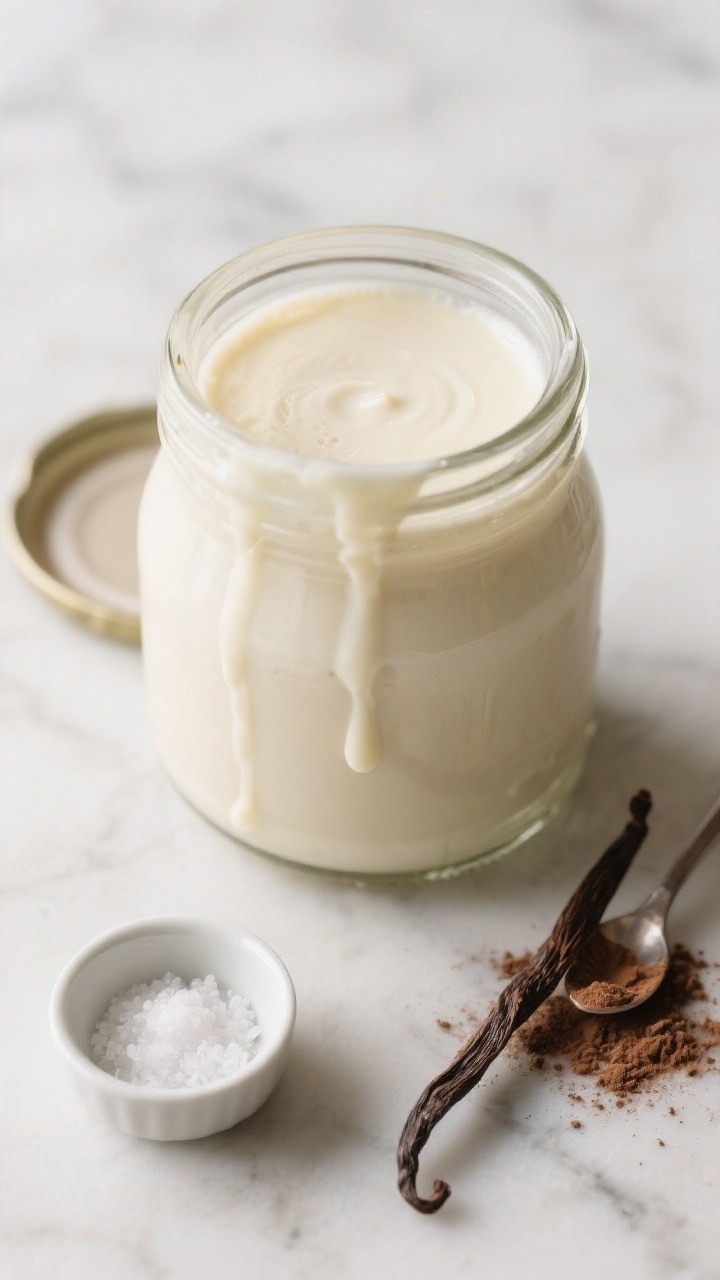
- Bottle and chill. Transfer the creamer to a clean glass jar or bottle with a tight lid. Let it cool at room temperature for 15–20 minutes, then refrigerate.
- Shake before using. The creamer can separate slightly in the fridge. Give it a good shake before pouring into coffee.
Keeping It Fresh
Store your creamer in the refrigerator in a sealed jar.
It keeps well for up to 7–10 days. Since it’s made with real dairy, treat it like fresh milk: keep it cold, don’t leave it out on the counter, and use a clean spoon if you’re not pouring from a spout. If it thickens over time, a quick shake or brief warm-up in the microwave (10–15 seconds) will loosen it.
Always check the smell and look—if anything seems off, toss it and make a new batch.
Benefits of This Recipe
- Customizable sweetness: You control how sweet it is, which makes it easy to match your taste and your coffee’s strength.
- Better texture than store-bought: Real white chocolate creates a silky mouthfeel that blends smoothly.
- Simple ingredients: No stabilizers or artificial flavors. You know exactly what’s in your cup.
- Budget-friendly “coffee shop” upgrade: A small batch transforms a week of coffee for less than a couple of lattes.
- Versatile: Works in hot coffee, iced coffee, cold brew, and even hot cocoa.
Common Mistakes to Avoid
- Overheating the dairy: Boiling can scorch the milk and cause separation. Keep the heat gentle.
- Using candy melts or fake “white chips”: Many don’t contain cocoa butter and won’t melt as smoothly.
Look for bars labeled with cocoa butter in the ingredients.
- Skipping the pinch of salt: It won’t make your creamer salty—it just sharpens the flavors.
- Adding coffee that’s too watery: If using brewed coffee instead of espresso powder, make it strong so the mocha note doesn’t get lost.
- Not adjusting sweetness: Coffee strength varies. Taste the creamer with your usual brew and tweak sweetness if needed.
Alternatives
- Dairy-free version: Use 1 cup full-fat canned coconut milk and 1 cup unsweetened almond milk or oat milk. Choose a dairy-free white chocolate made with cocoa butter.
Note: it may be a bit thinner if you skip coconut milk.
- Lower-sugar option: Omit the sweetened condensed milk and use a higher-cacao white chocolate (some brands are less sweet). You can also add a few drops of liquid stevia or monk fruit to taste.
- Flavor twists: Add a drop of peppermint extract for a festive vibe, a pinch of cinnamon for warmth, or a scrape of vanilla bean for a deeper vanilla note.
- Extra mocha: Increase espresso powder to 2–3 teaspoons if your coffee is mild or you want a stronger chocolate-coffee profile.
- Thicker café-style creamer: Swap 1/2 cup of the milk for an extra 1/2 cup of heavy cream, or add 1–2 more tablespoons of sweetened condensed milk.
FAQ
Can I make this without heavy cream?
Yes. Use all milk for a lighter creamer.
Whole milk works best for body, but 2% will still be smooth. The texture will be thinner, so consider adding a bit more white chocolate to compensate.
What kind of white chocolate should I buy?
Look for bars that list cocoa butter in the ingredients. Brands labeled “baking bars” often melt better than chips.
Avoid candy melts or compound coatings—they can leave a waxy finish and won’t blend as well.
How do I keep the chocolate from seizing?
Keep the heat low and melt the chocolate off the heat in warm dairy. Finely chop the chocolate so it melts evenly. If it looks grainy, whisk patiently; a quick strain at the end usually fixes texture issues.
Can I use brewed espresso instead of powder?
Absolutely.
Use about 2 tablespoons of very strong espresso or concentrated coffee. Reduce other liquids slightly only if the creamer feels too thin for your taste.
Does it foam for lattes?
Yes, especially if you keep the ratio of milk to cream balanced. Warm a small amount and use a handheld frother or shake it in a sealed jar for 20–30 seconds.
It makes a lovely microfoam for homemade lattes.
How much should I add to my coffee?
Start with 1–2 tablespoons per 8-ounce cup. Adjust up or down depending on your coffee’s strength and your sweetness preference.
Can I freeze the creamer?
Freezing is not ideal. The dairy can separate and the texture may turn grainy once thawed.
It’s best to make smaller batches and finish within a week.
Is it safe for kids?
It contains caffeine from the espresso powder or coffee. If you want a caffeine-free version, skip the espresso and add a touch more vanilla or a pinch of cocoa powder for a subtle chocolate note.
In Conclusion
This White Chocolate Mocha Creamer is simple, comforting, and flexible enough to fit your routine. With a short ingredient list and just a few minutes on the stove, you’ll have a café-style upgrade any time you want it.
Make it richer, make it lighter, or add a twist—it’s easy to tailor. Keep a jar in the fridge, and your everyday coffee will feel like a small luxury all week long.
Printable Recipe Card
Want just the essential recipe details without scrolling through the article? Get our printable recipe card with just the ingredients and instructions.